Overview
The Podcast feature on Mayar offers a rich and interactive listening experience, allowing users to enjoy a wide range of high-quality audio content — from the latest news to in-depth discussions on their favorite topics. With an intuitive interface, you can easily browse, search, and save your favorite podcasts to listen to anytime, anywhere. The feature also includes personalized recommendations based on your interests, so you can always discover something new and exciting. Enhance your listening experience with Mayar’s Podcast feature, designed to meet the needs of today’s modern audience.Creating a Podcast Product
Log in to Dashboard
First, log in to your Mayar Dashboard. Make sure you are signed in to your account and on the main Dashboard page. Here, you will begin the process of creating a Podcast product.
Access Product Menu
On the Dashboard page, find and click the “Product” button located at the top right corner, next to the “Create” button. This will take you to the product menu, where you can choose the type of product you want to create.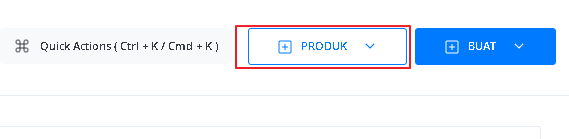
Select Podcast Option
From the product menu, select the “Podcast” option to start creating your Podcast product. This will open a new window titled “Create Podcast”, where you’ll be asked to provide various details about the product you’re making.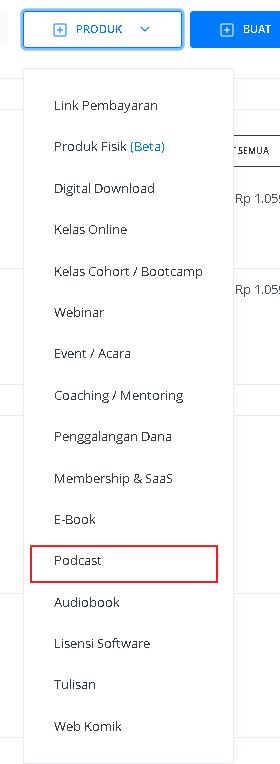
Fill in Product Details
In the “Create Podcast” window, you’ll need to fill in product details as follows: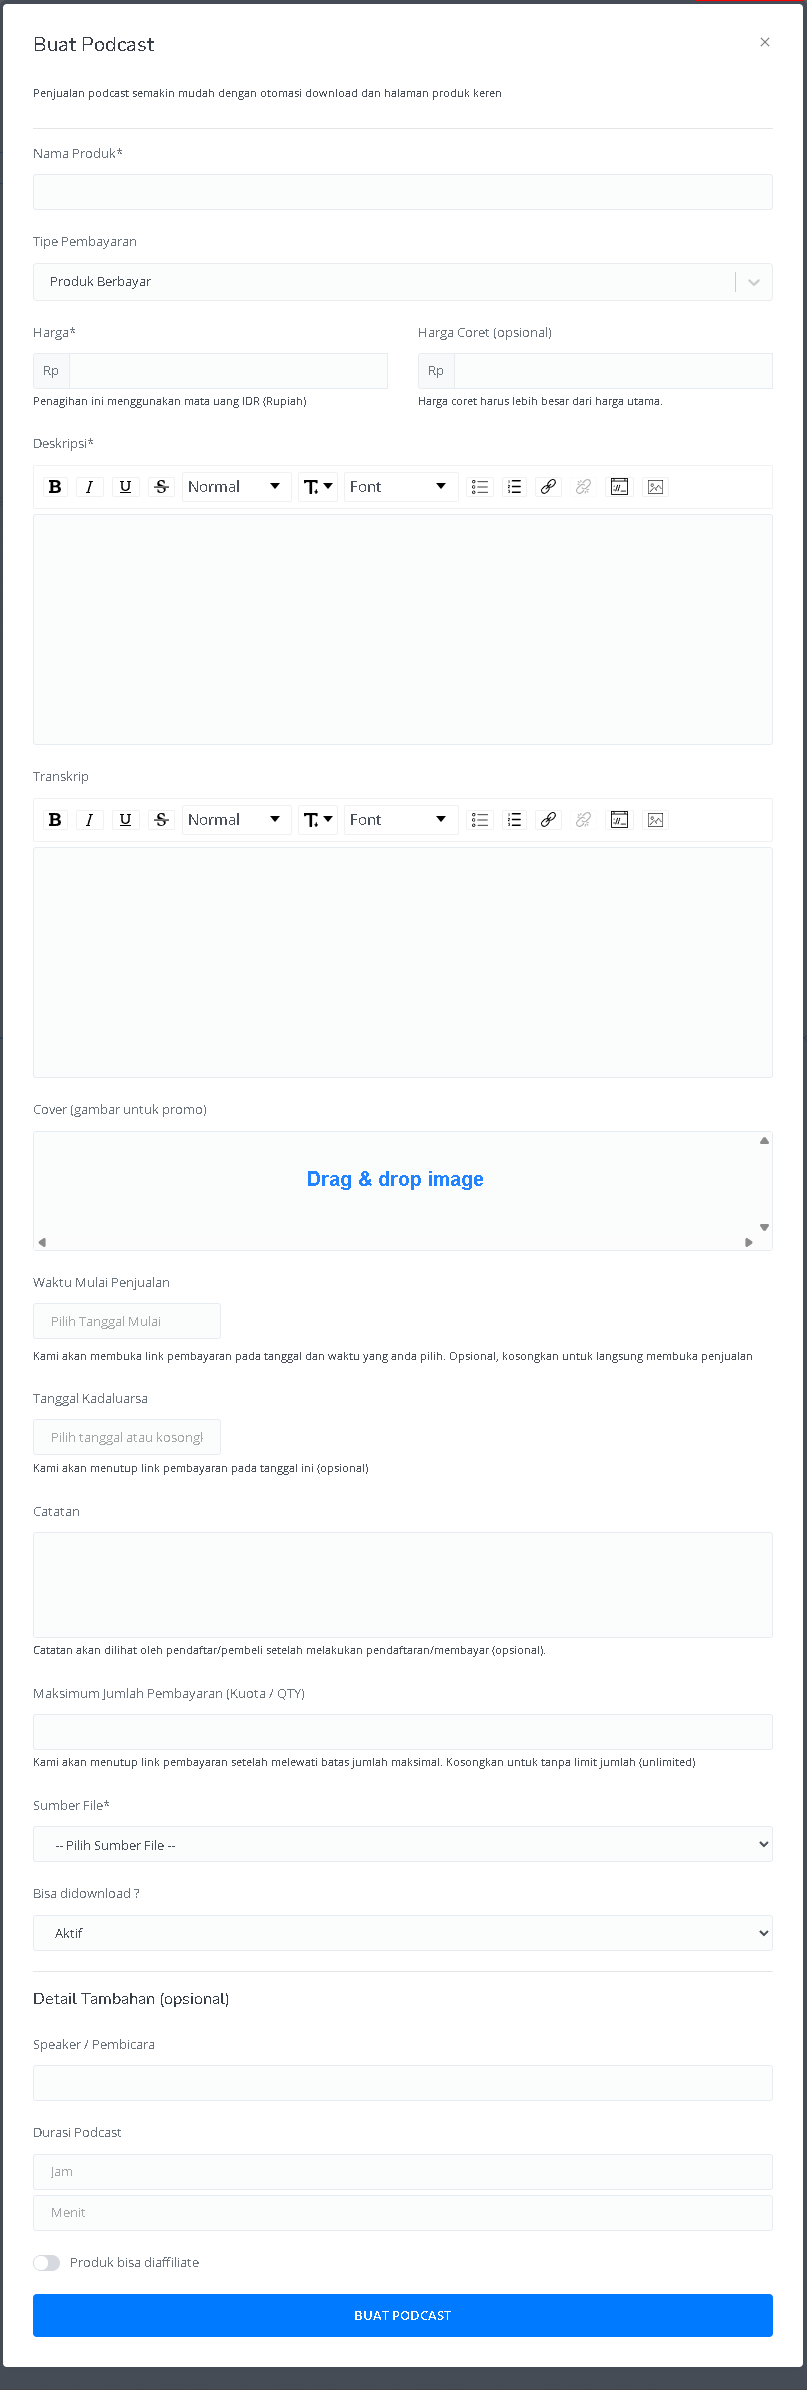
| Input Form | Description |
|---|---|
| Product Name | Field to enter the podcast product name. |
| Payment Type | Options to set the payment type (e.g., Paid, Free, or Pay What You Want). |
| Price | Field to enter the product price in IDR (Rupiah). |
| Strike-through Price (optional) | Field to enter a higher “crossed-out” price. |
| Description | Text area for adding a podcast description with text formatting options. |
| Transcript | Text area for adding the podcast transcript with formatting options. |
| Cover (promo image) | Section to upload a podcast cover image. |
| Sales Start Date | Date picker to set when sales begin. |
| Expiration Date | Date picker to set when sales end (optional). |
| Notes | Field for adding notes visible to registrants/buyers. |
| Maximum Payment Count (Quota/QTY) | Field to set the maximum number of payments. |
| File Source | Dropdown to choose the podcast file source. |
| Downloadable? | Option to enable or disable downloads. |
| Speaker | Field to enter the speaker’s name. |
| Podcast Duration | Field to enter the duration in hours and minutes. |
| Affiliate Option | Enable or disable product affiliation. |
| ”Create Podcast” Button | Button to submit and create the podcast. |
View Product Details Page
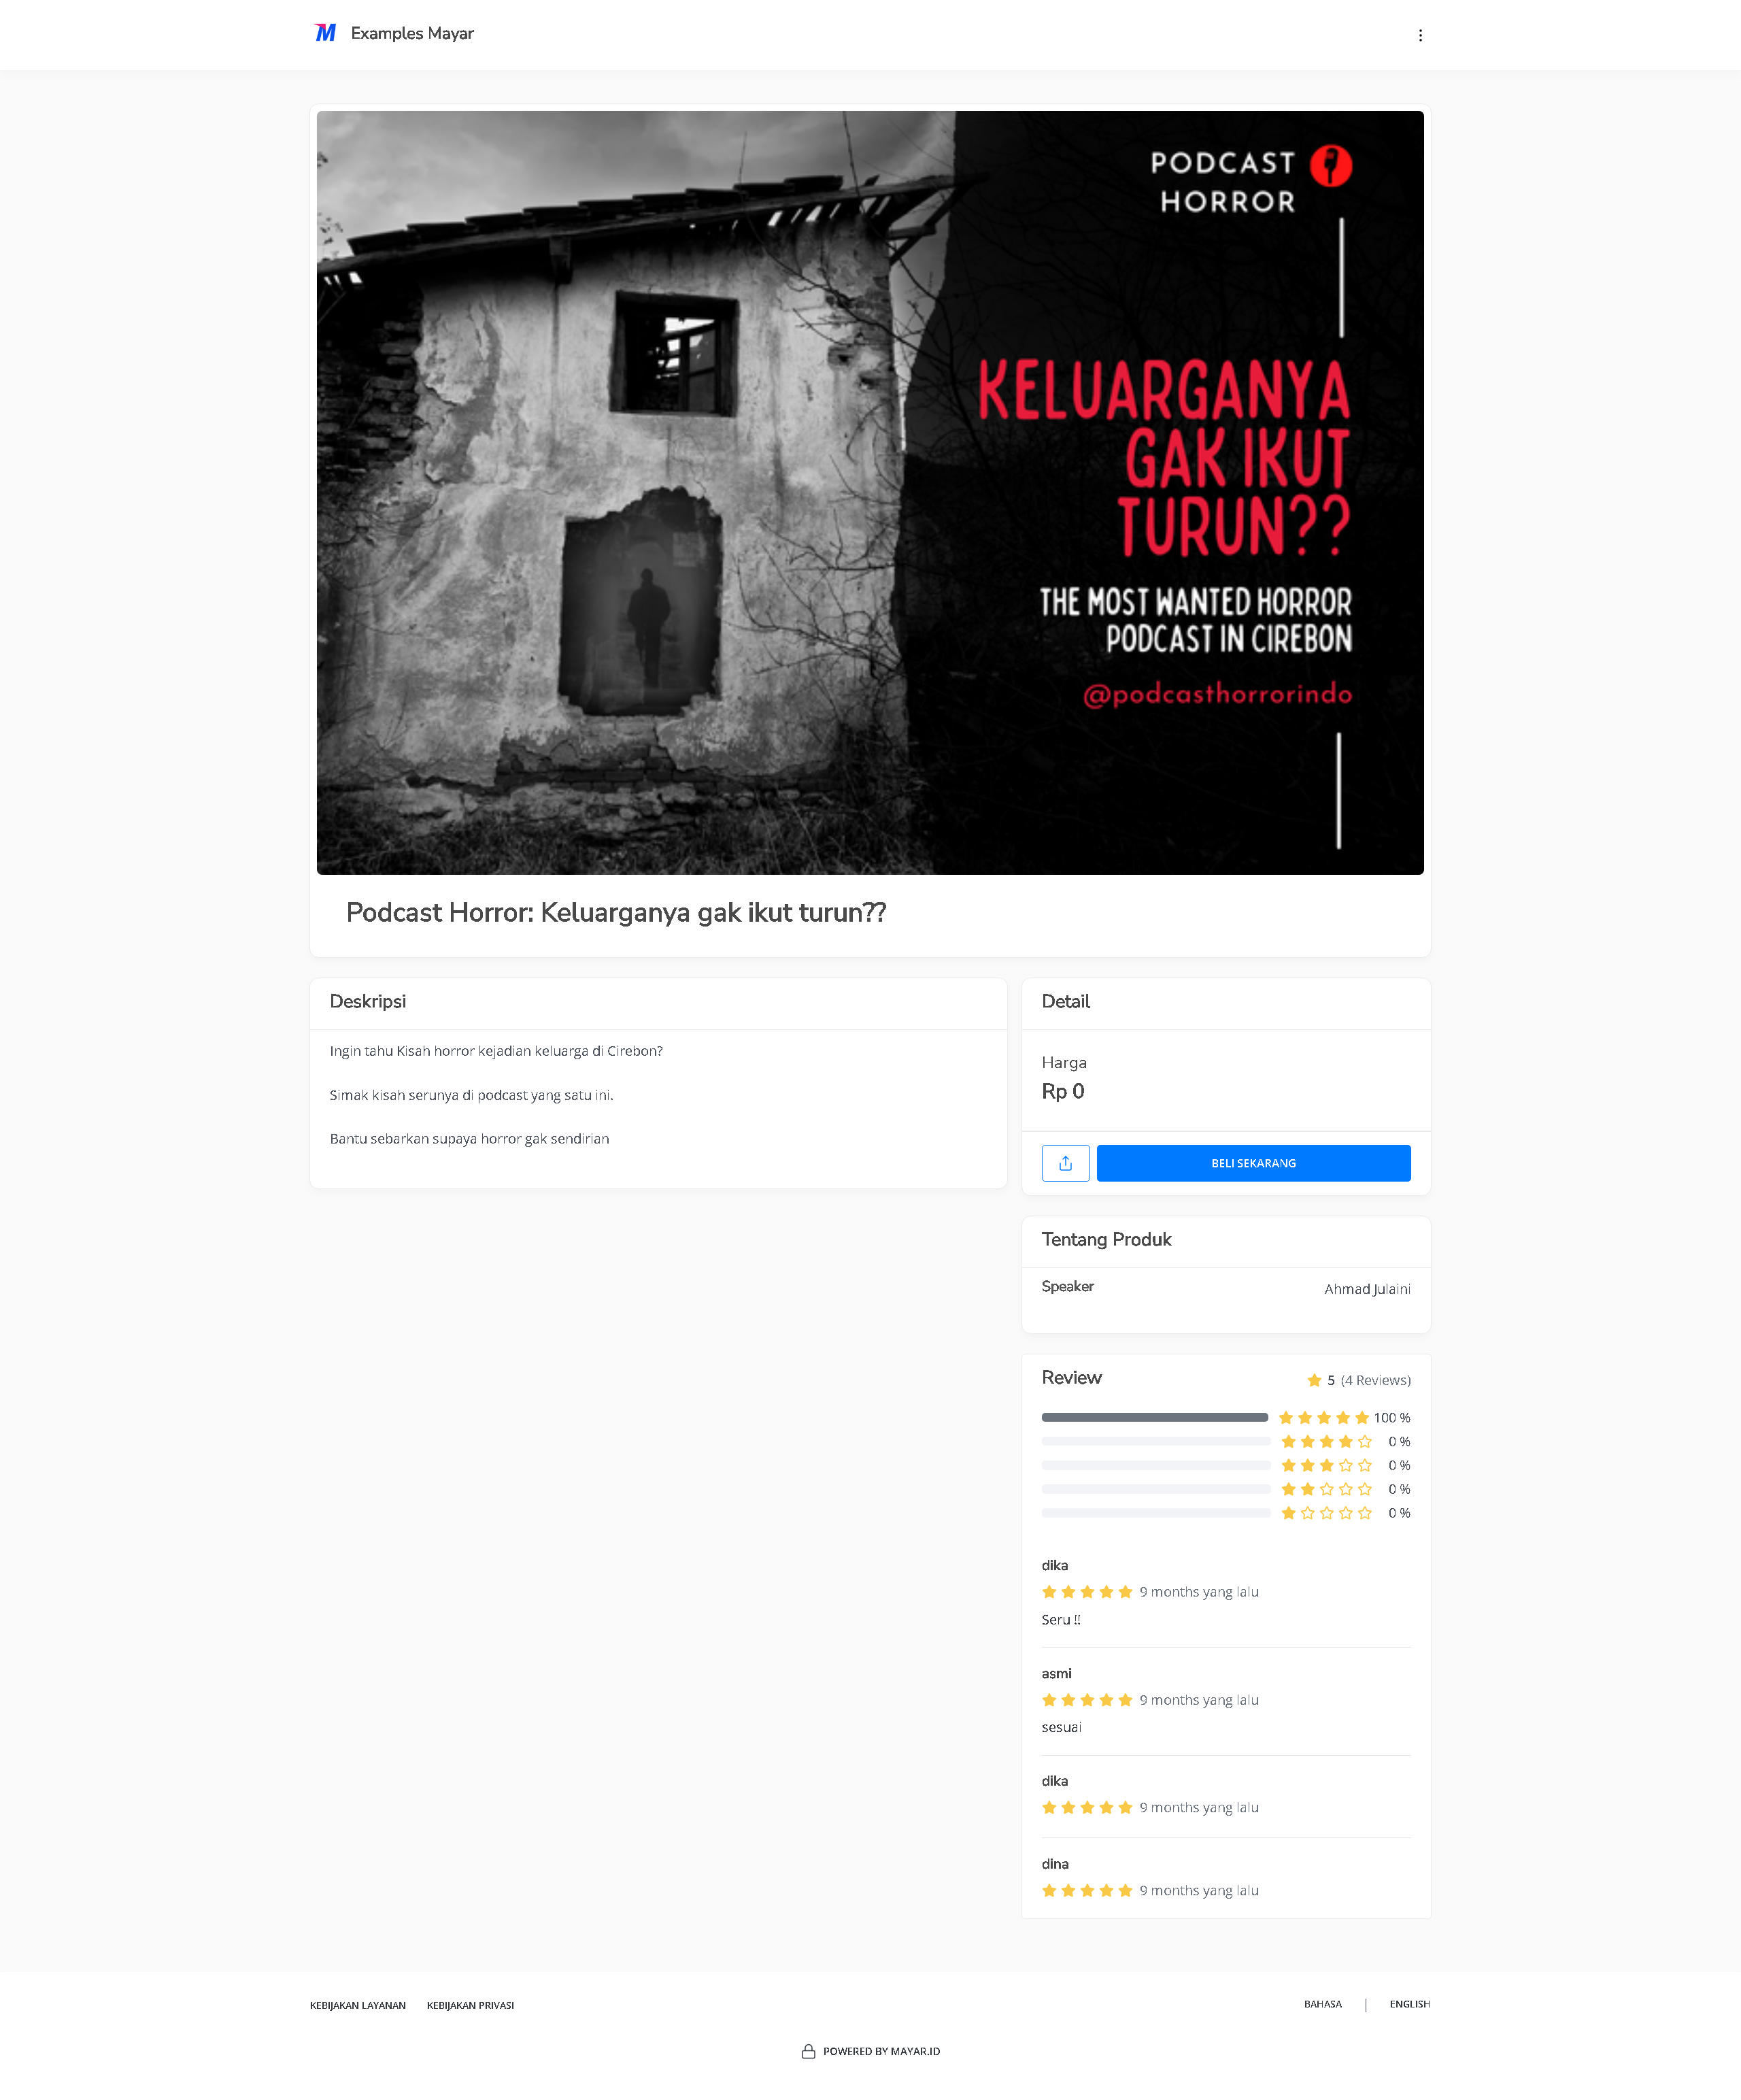
After filling out all the details and successfully creating your Podcast product, you’ll be redirected to the Product Detail Page. Here, you can see all the information as follows: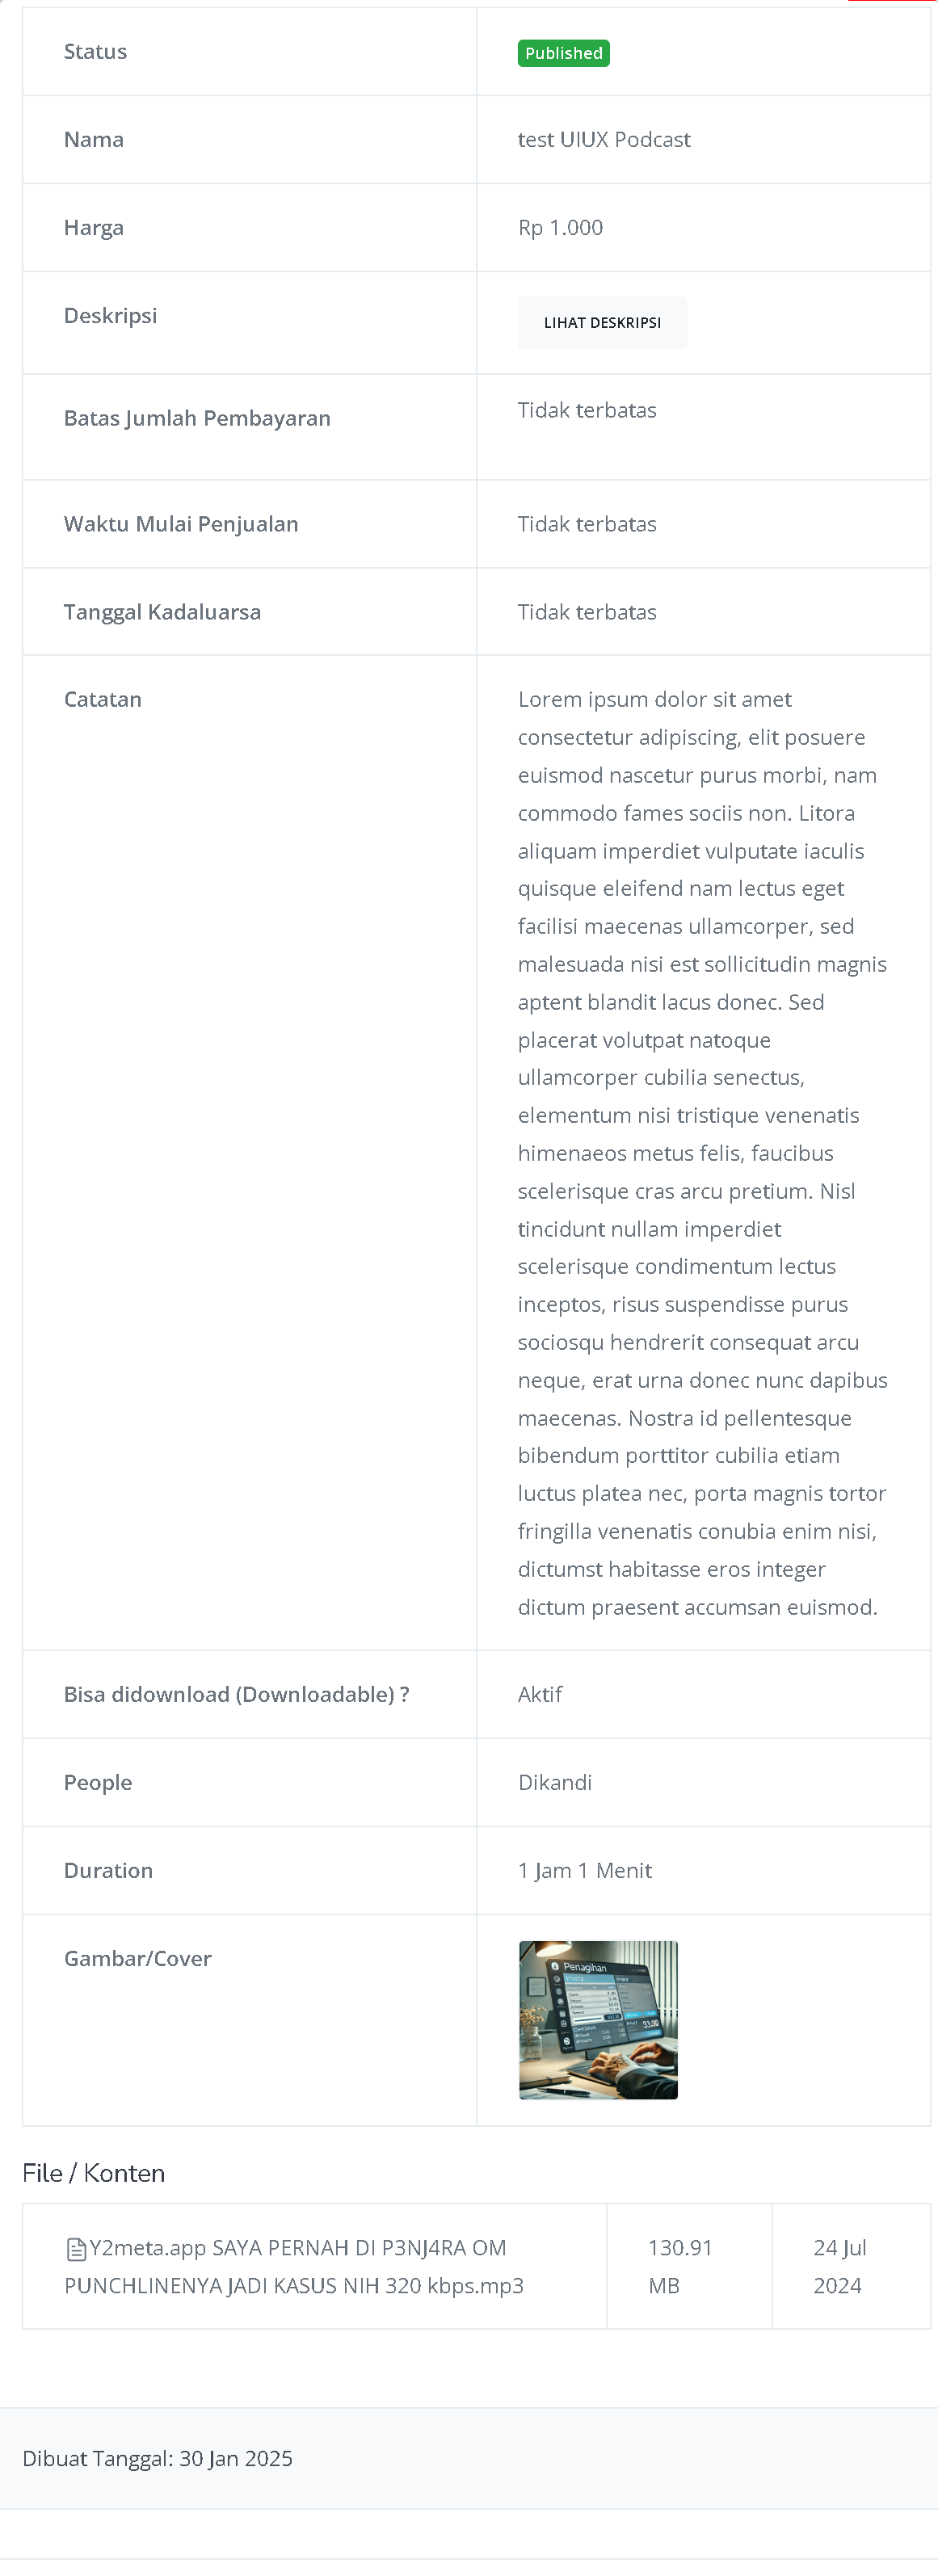
| Information | Description |
|---|---|
| Status | Shows the podcast status, e.g., Published, meaning the podcast is live. |
| Name | The podcast name, e.g., test UIUX Podcast. |
| Price | The set podcast price, e.g., Rp 1,000. |
| Description | A View Description button that lets users read the full podcast description. |
| Payment Limit | Shows that there is no payment limit. |
| Sales Start Date | Indicates no specific sales start date. |
| Expiration Date | Shows there is no expiration date for this podcast. |
| Notes | Contains placeholder text, usually for additional info or important notes about the podcast. |
| Downloadable? | Shows that the podcast can be downloaded (active status). |
| People | Refers to the speaker or creator of the podcast, in this case, “Dikandi.” |
| Duration | Podcast duration, e.g., 1 Hour 1 Minute. |
| Image/Cover | Displays the podcast cover image used for promotion. |
| File/Content | Shows the file name and a short description of the podcast content. file size (130.91 MB) and creation date (24 Jul 2024). |
| Created On | Shows the podcast creation date, e.g., 30 Jan 2025. |
How to Access the Product Page and Checkout
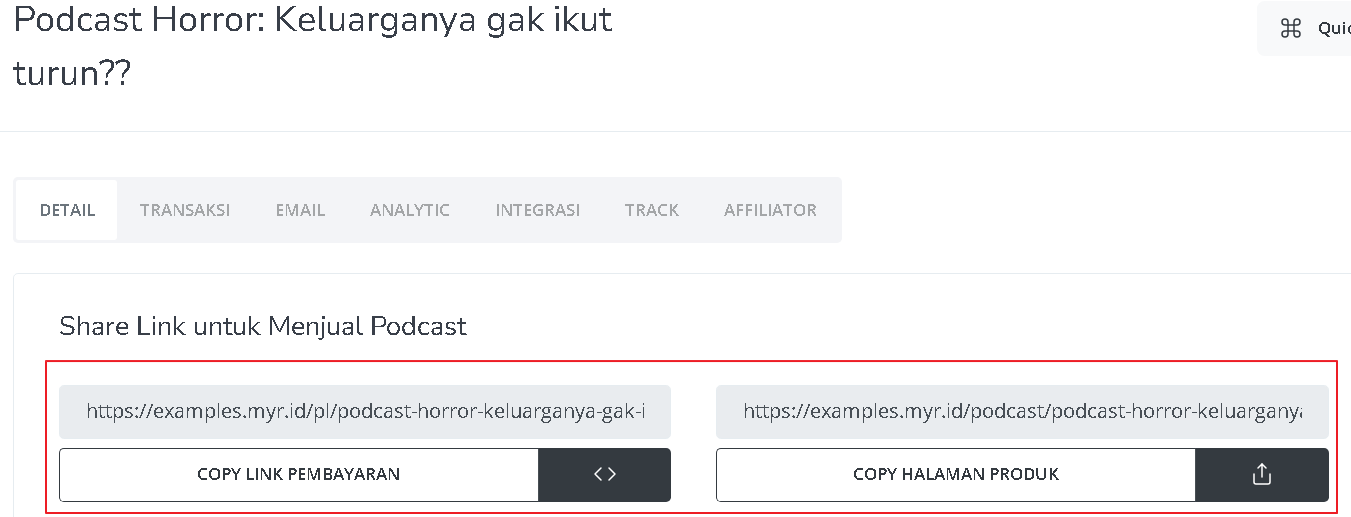
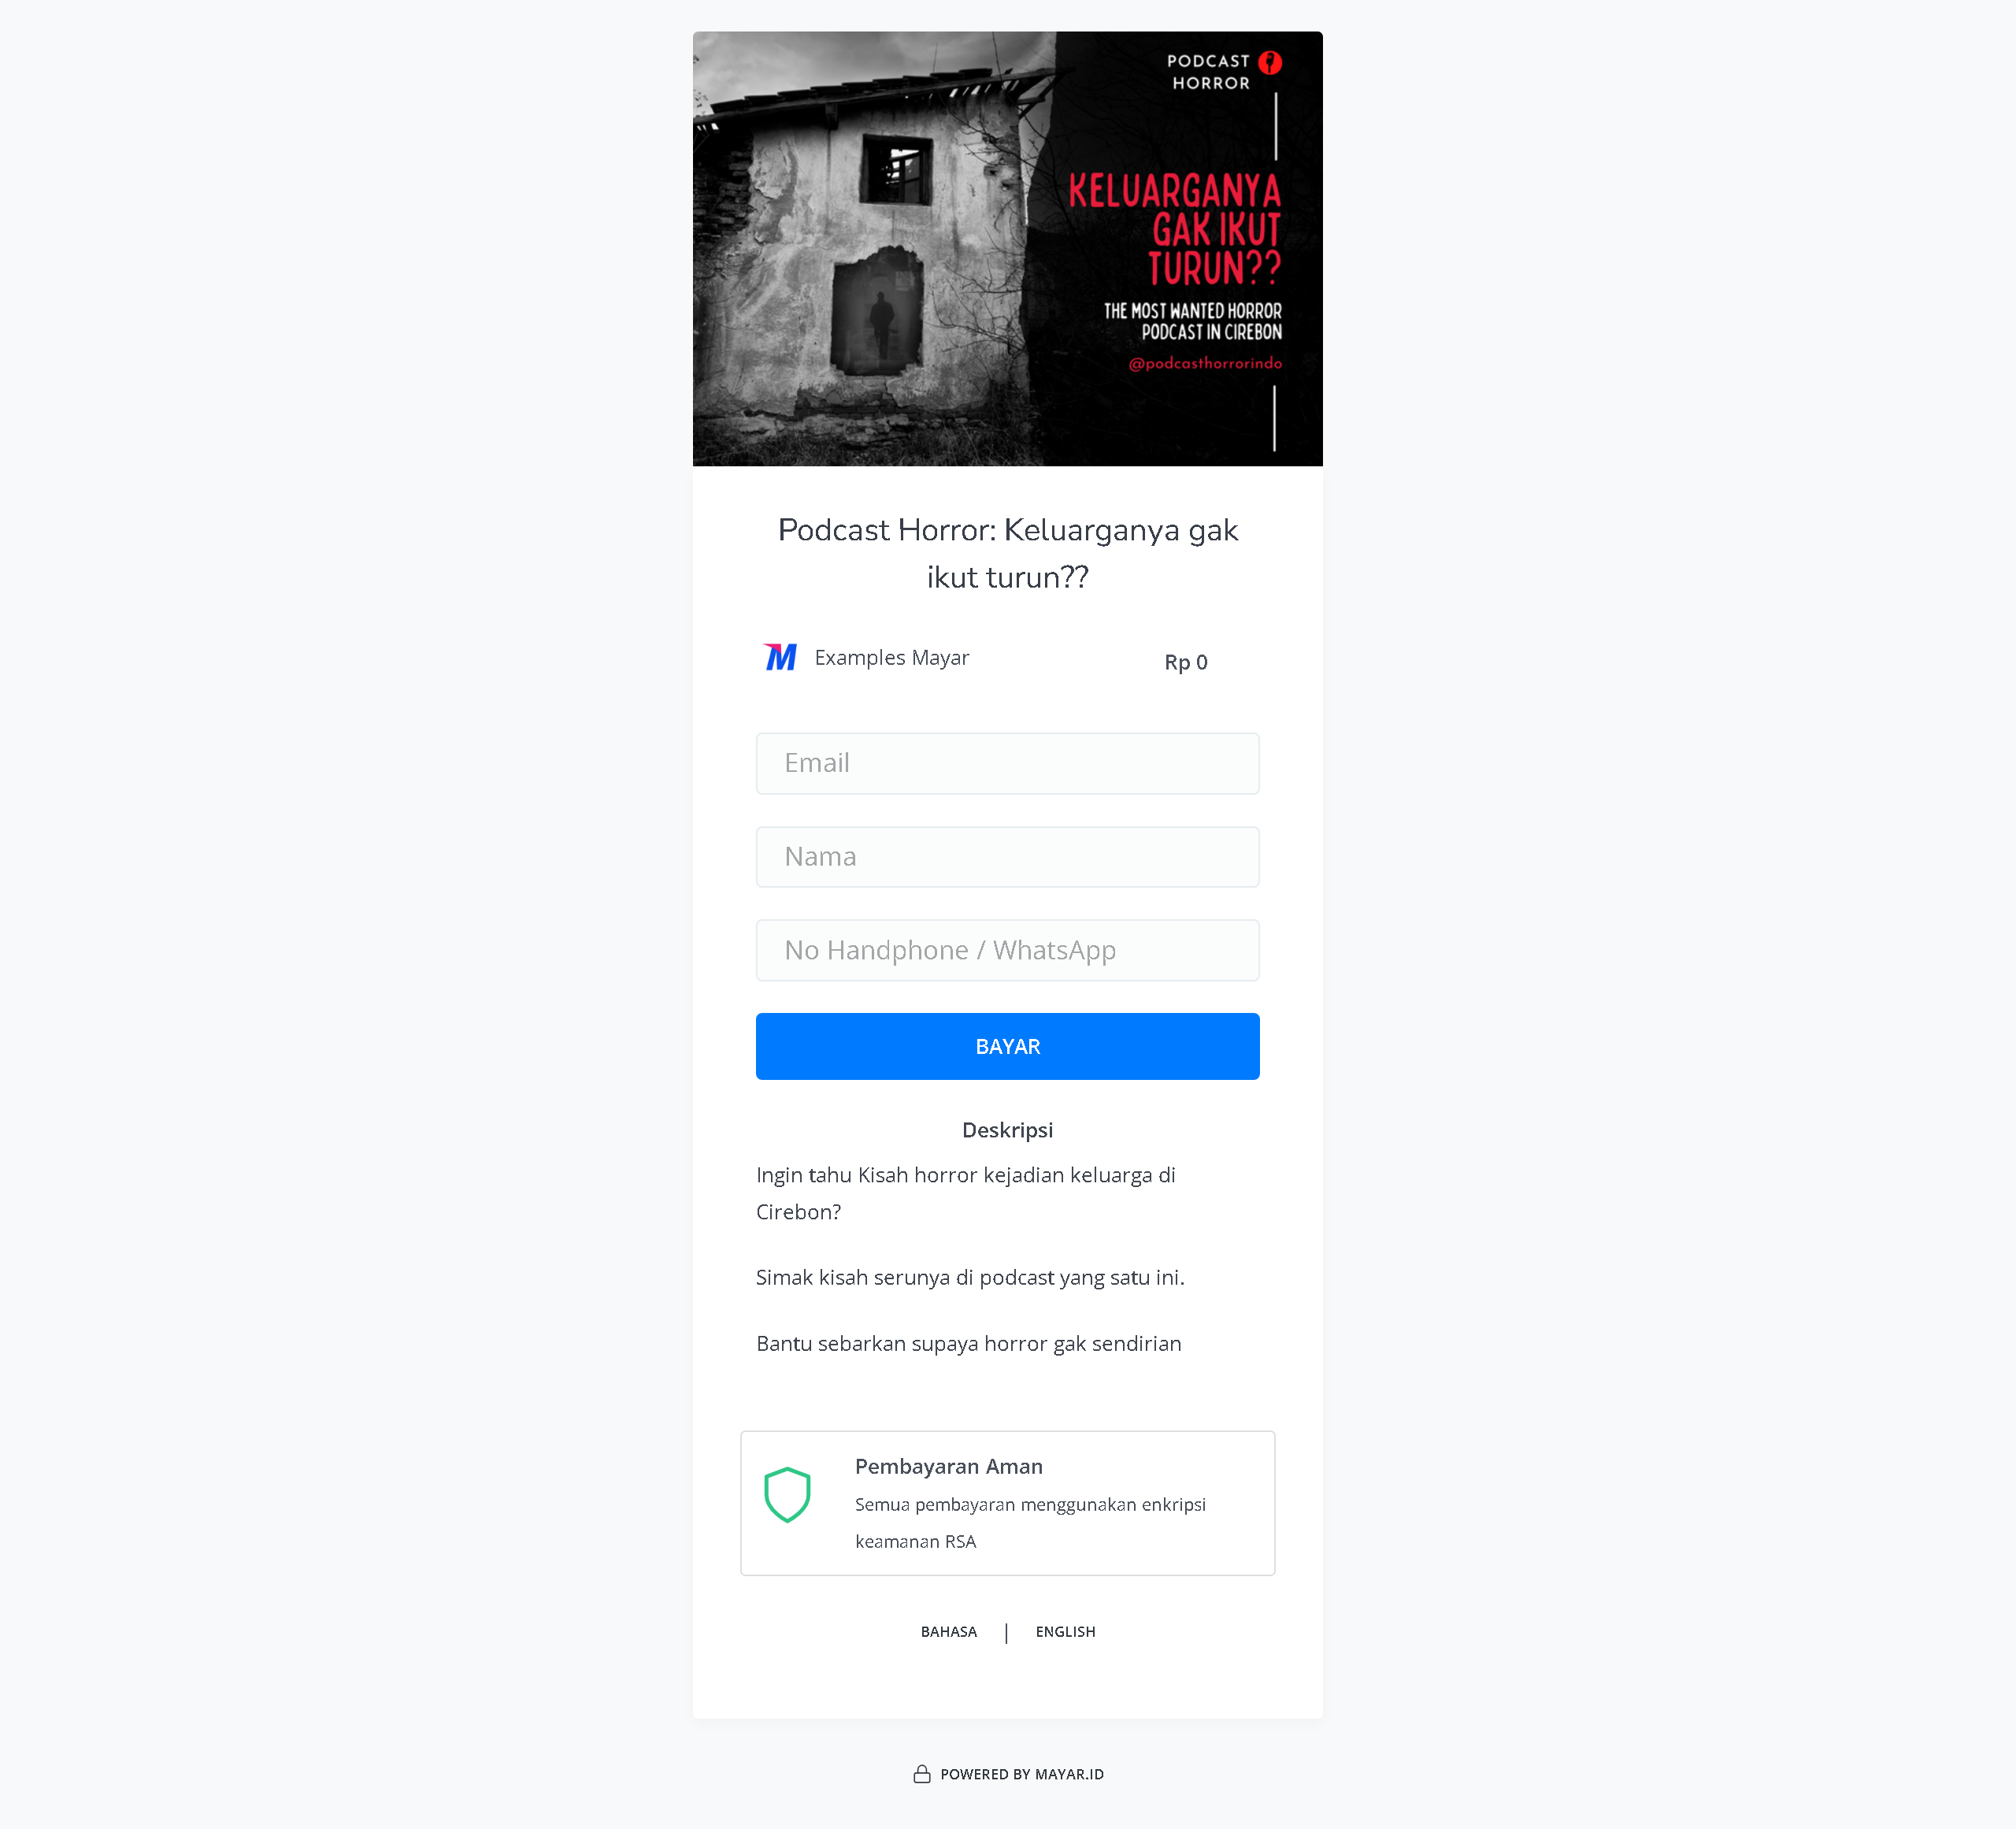
Access Product Page
You can access the product page through the link provided in the product details.