Overview
The Creator Support feature on the Mayar platform is designed to help content creators receive financial support from their fans. With this feature, creators can receive donations or contributions from their followers, allowing them to continue producing quality content. Fans can support creators in different ways, such as one-time donations or monthly subscriptions, giving them flexibility in how they choose to support their favorite creators. In addition, Creator Support provides creators with analytics tools to track contributions and fan engagement, as well as communication features that allow direct interaction between creators and supporters. This strengthens community connections and creates a more personal experience.How to use the Creator Support feature on Mayar
Here’s a simple guide to using the Creator Support feature on Mayar:Log in to Mayar Dashboard
Make sure you’re logged into your account and on the main Dashboard page. From here, you can start using the Creator Support feature.
Access the Creator Support Page
On the right sidebar of the Dashboard, find and click “Creator Support page.” This will take you to the setup page.
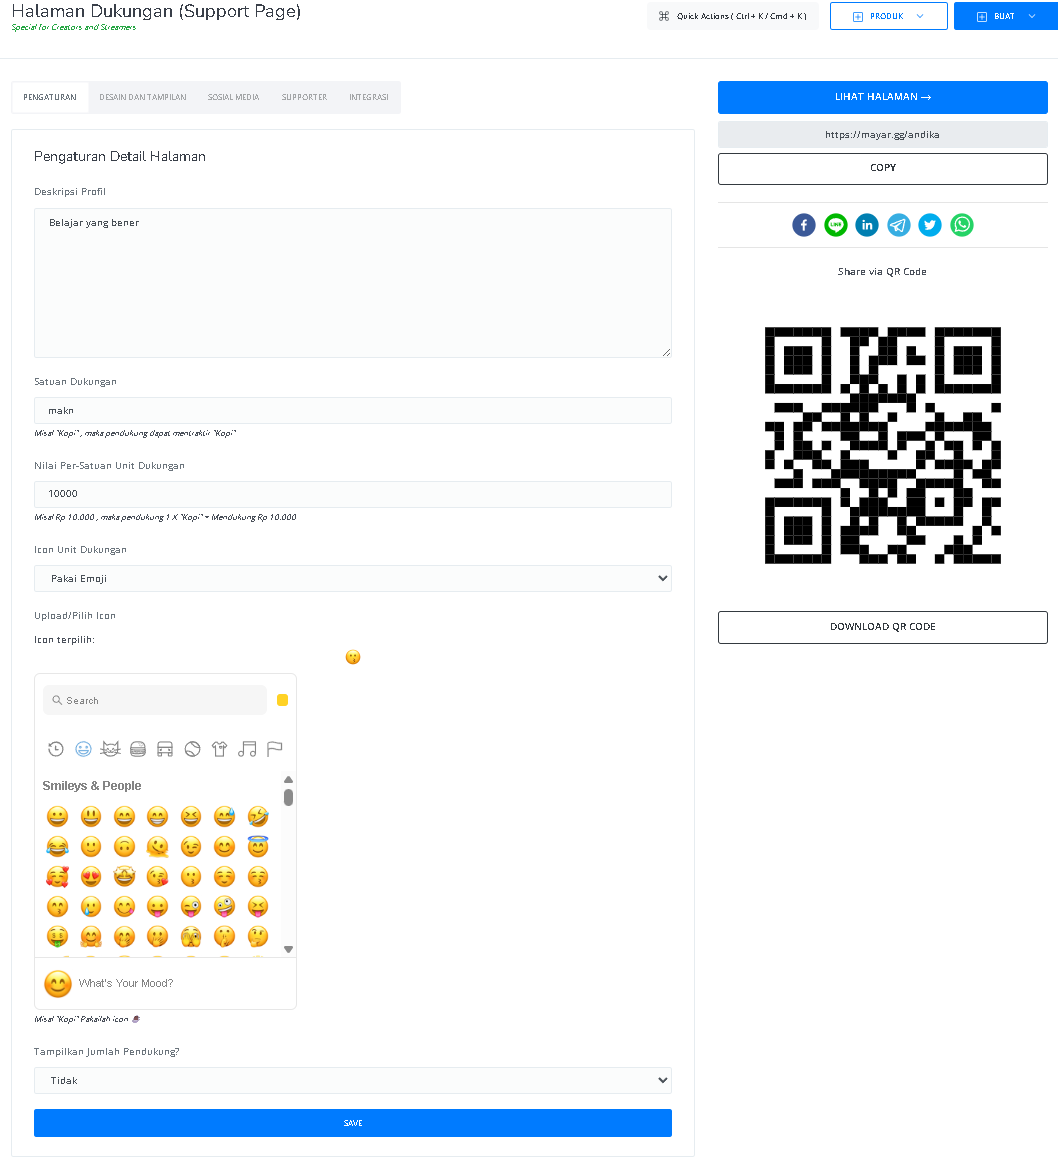
Set Up Your Creator Support Page
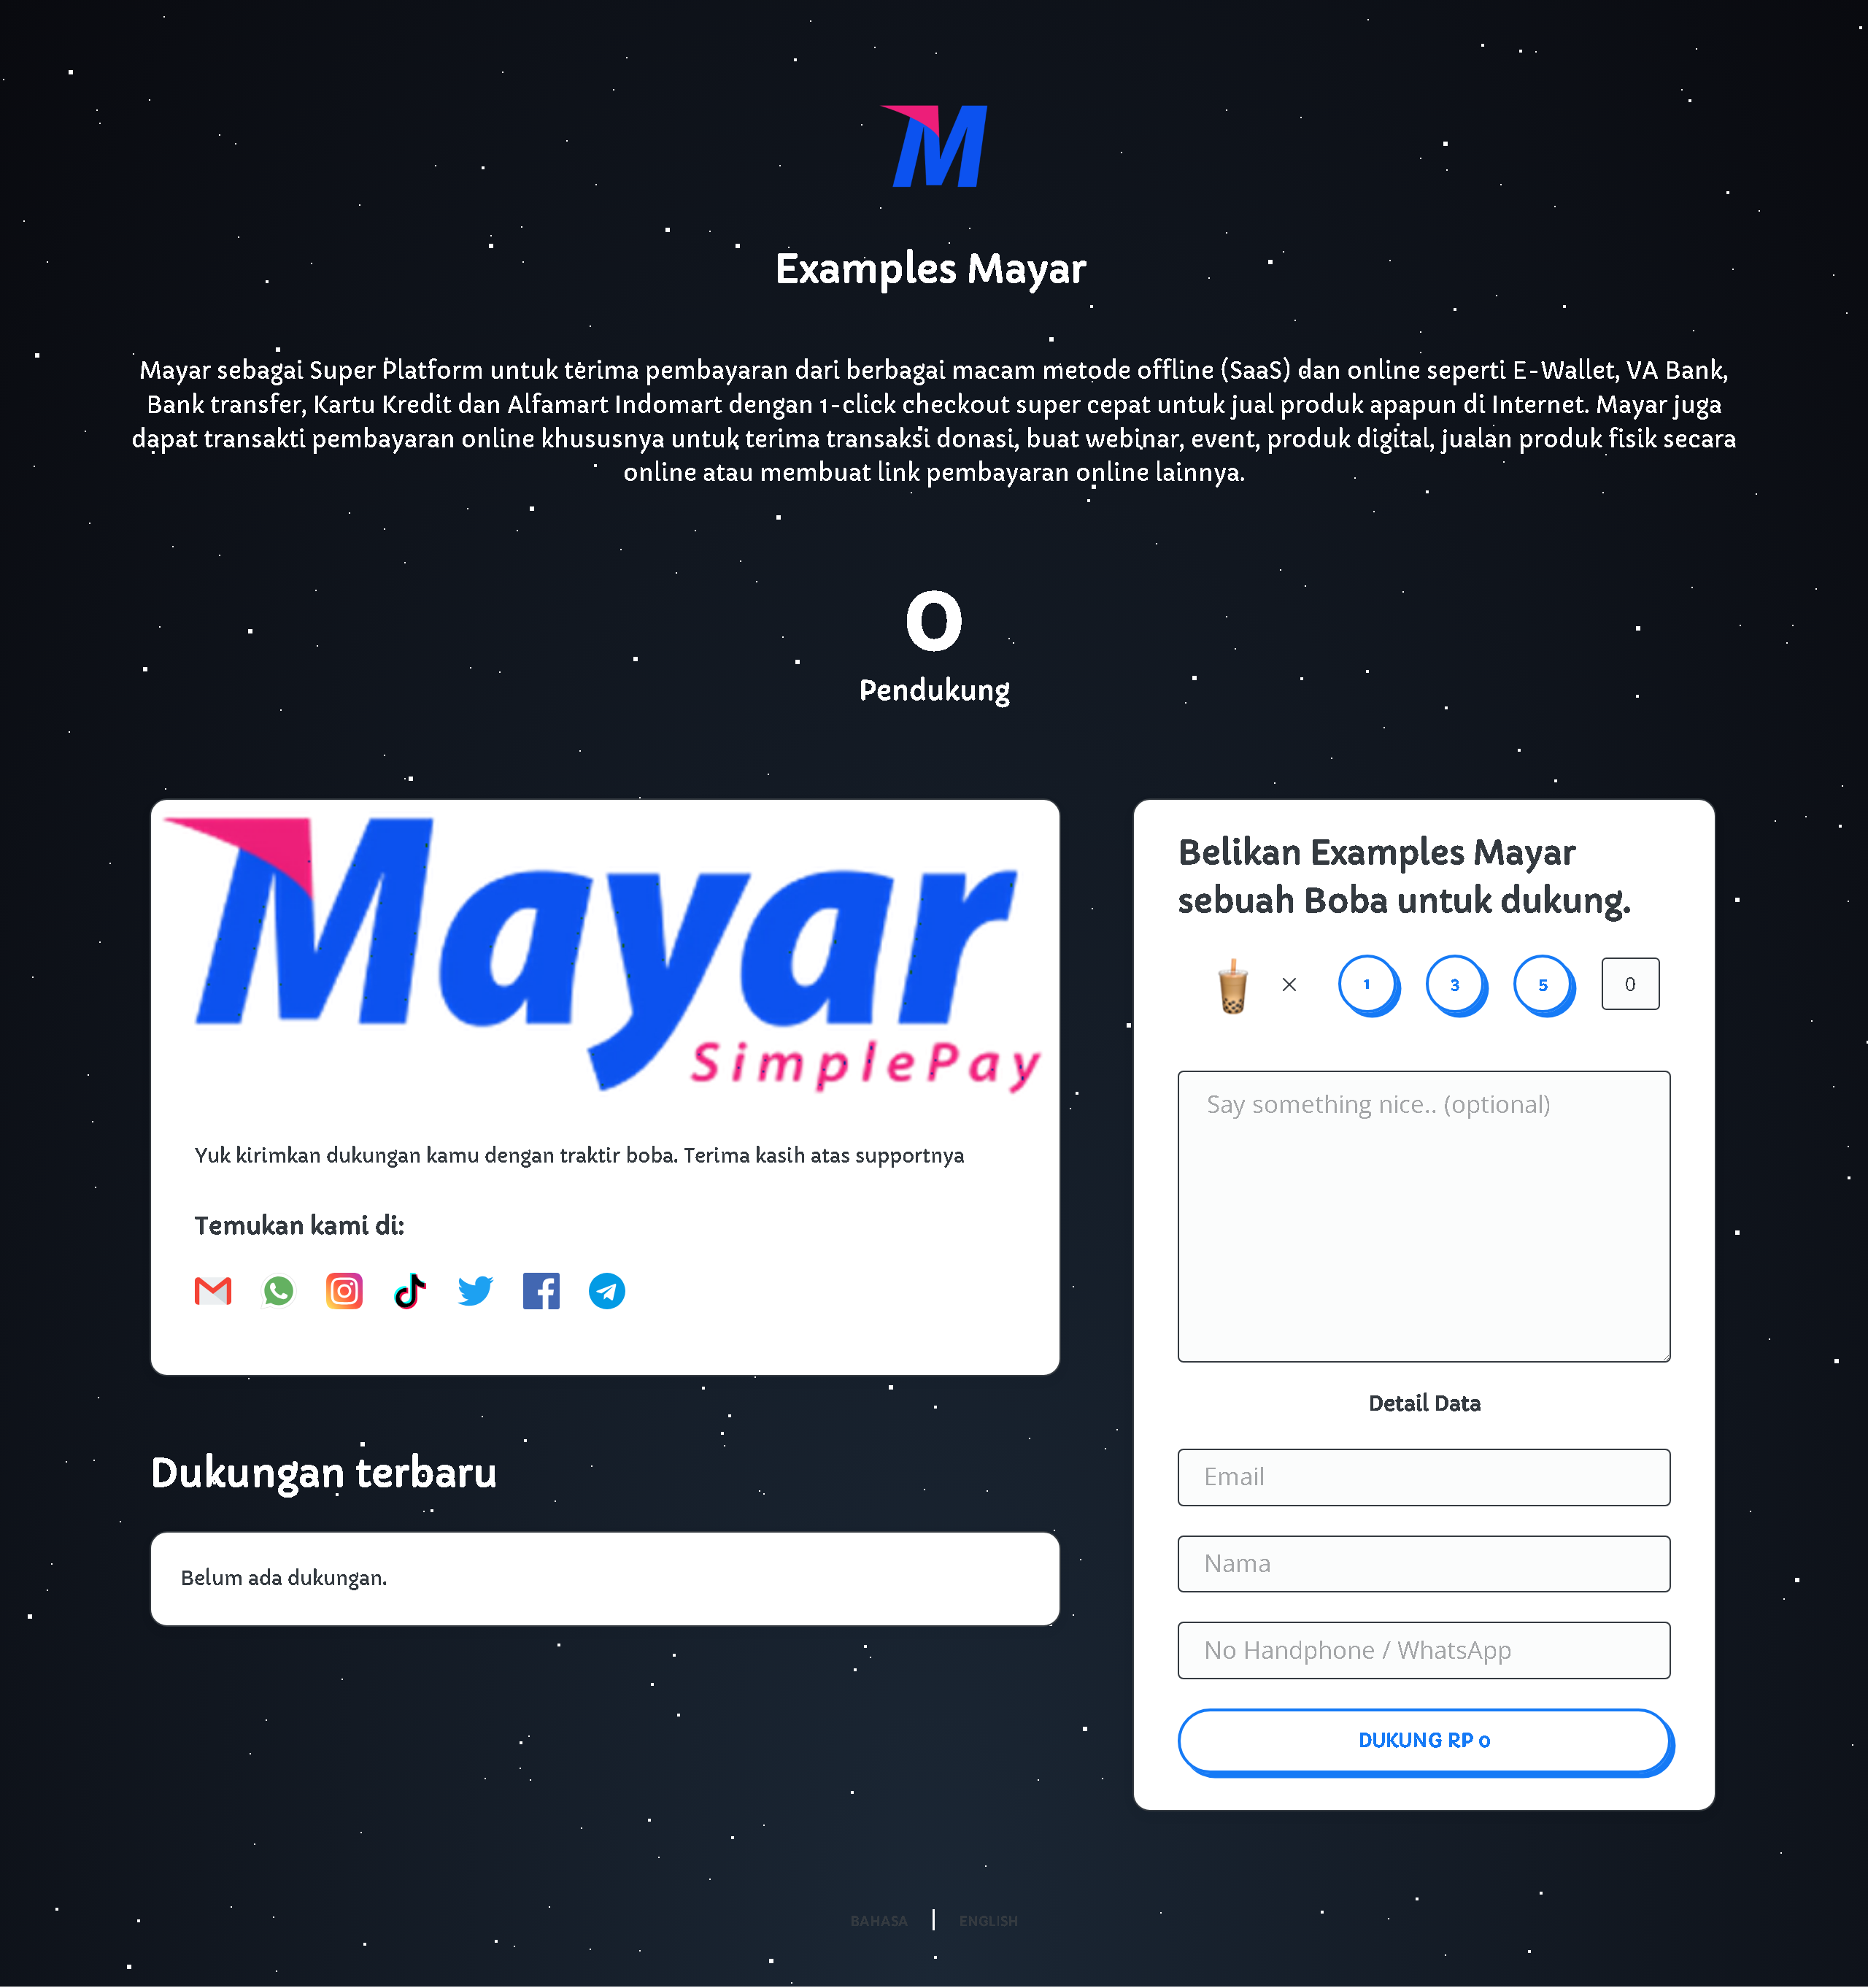
On this page, you can customize various elements, such as your profile description, support unit, value per unit, support unit icon, and whether to display the number of supporters. You can also adjust the page design by customizing the background, cards, buttons, fonts, cover image, and the option to display “Powered by Mayar.id” in the footer. Additionally, you can add and manage links to different social media and platforms like Email, WhatsApp, Instagram, TikTok, Twitter/X, Facebook, Telegram, YouTube, LinkedIn, Tokopedia, Shopee, BukaLapak, Lazada, Spotify, SoundCloud, Signal, Twitch, Patreon, and Pinterest. In the supporter section, you’ll find a table with supporter details and the option to integrate with third-party email marketing services.