Overview
The Customer Management Page in Mayar is designed to help users manage customer data efficiently. This page allows you to add, edit, and delete customer information, as well as view their transaction history. With its intuitive interface, users can easily search for customers by name, email, or phone number. Additionally, it provides analytics tools to help understand customer purchasing patterns, enabling businesses to create more effective marketing strategies. This feature is essential for building stronger customer relationships and driving business growth.How to Add Customers Data Manually in Mayar
Here are the simple steps to add customers manually in Mayar:Log in to the Mayar Dashboard
Make sure you are logged into your account and on the main Dashboard page. This is where you will start the manual customer-adding process.
Go to the “Customers” Page
From the right sidebar in the Dashboard, find and click “Customers” to open the Customer Management Page.
Click “Create Customer”
On this page, you’ll see the total number of customers and their details. To add a new customer, click “Create Customer”, located on the right side, just below the “Total Customers” section.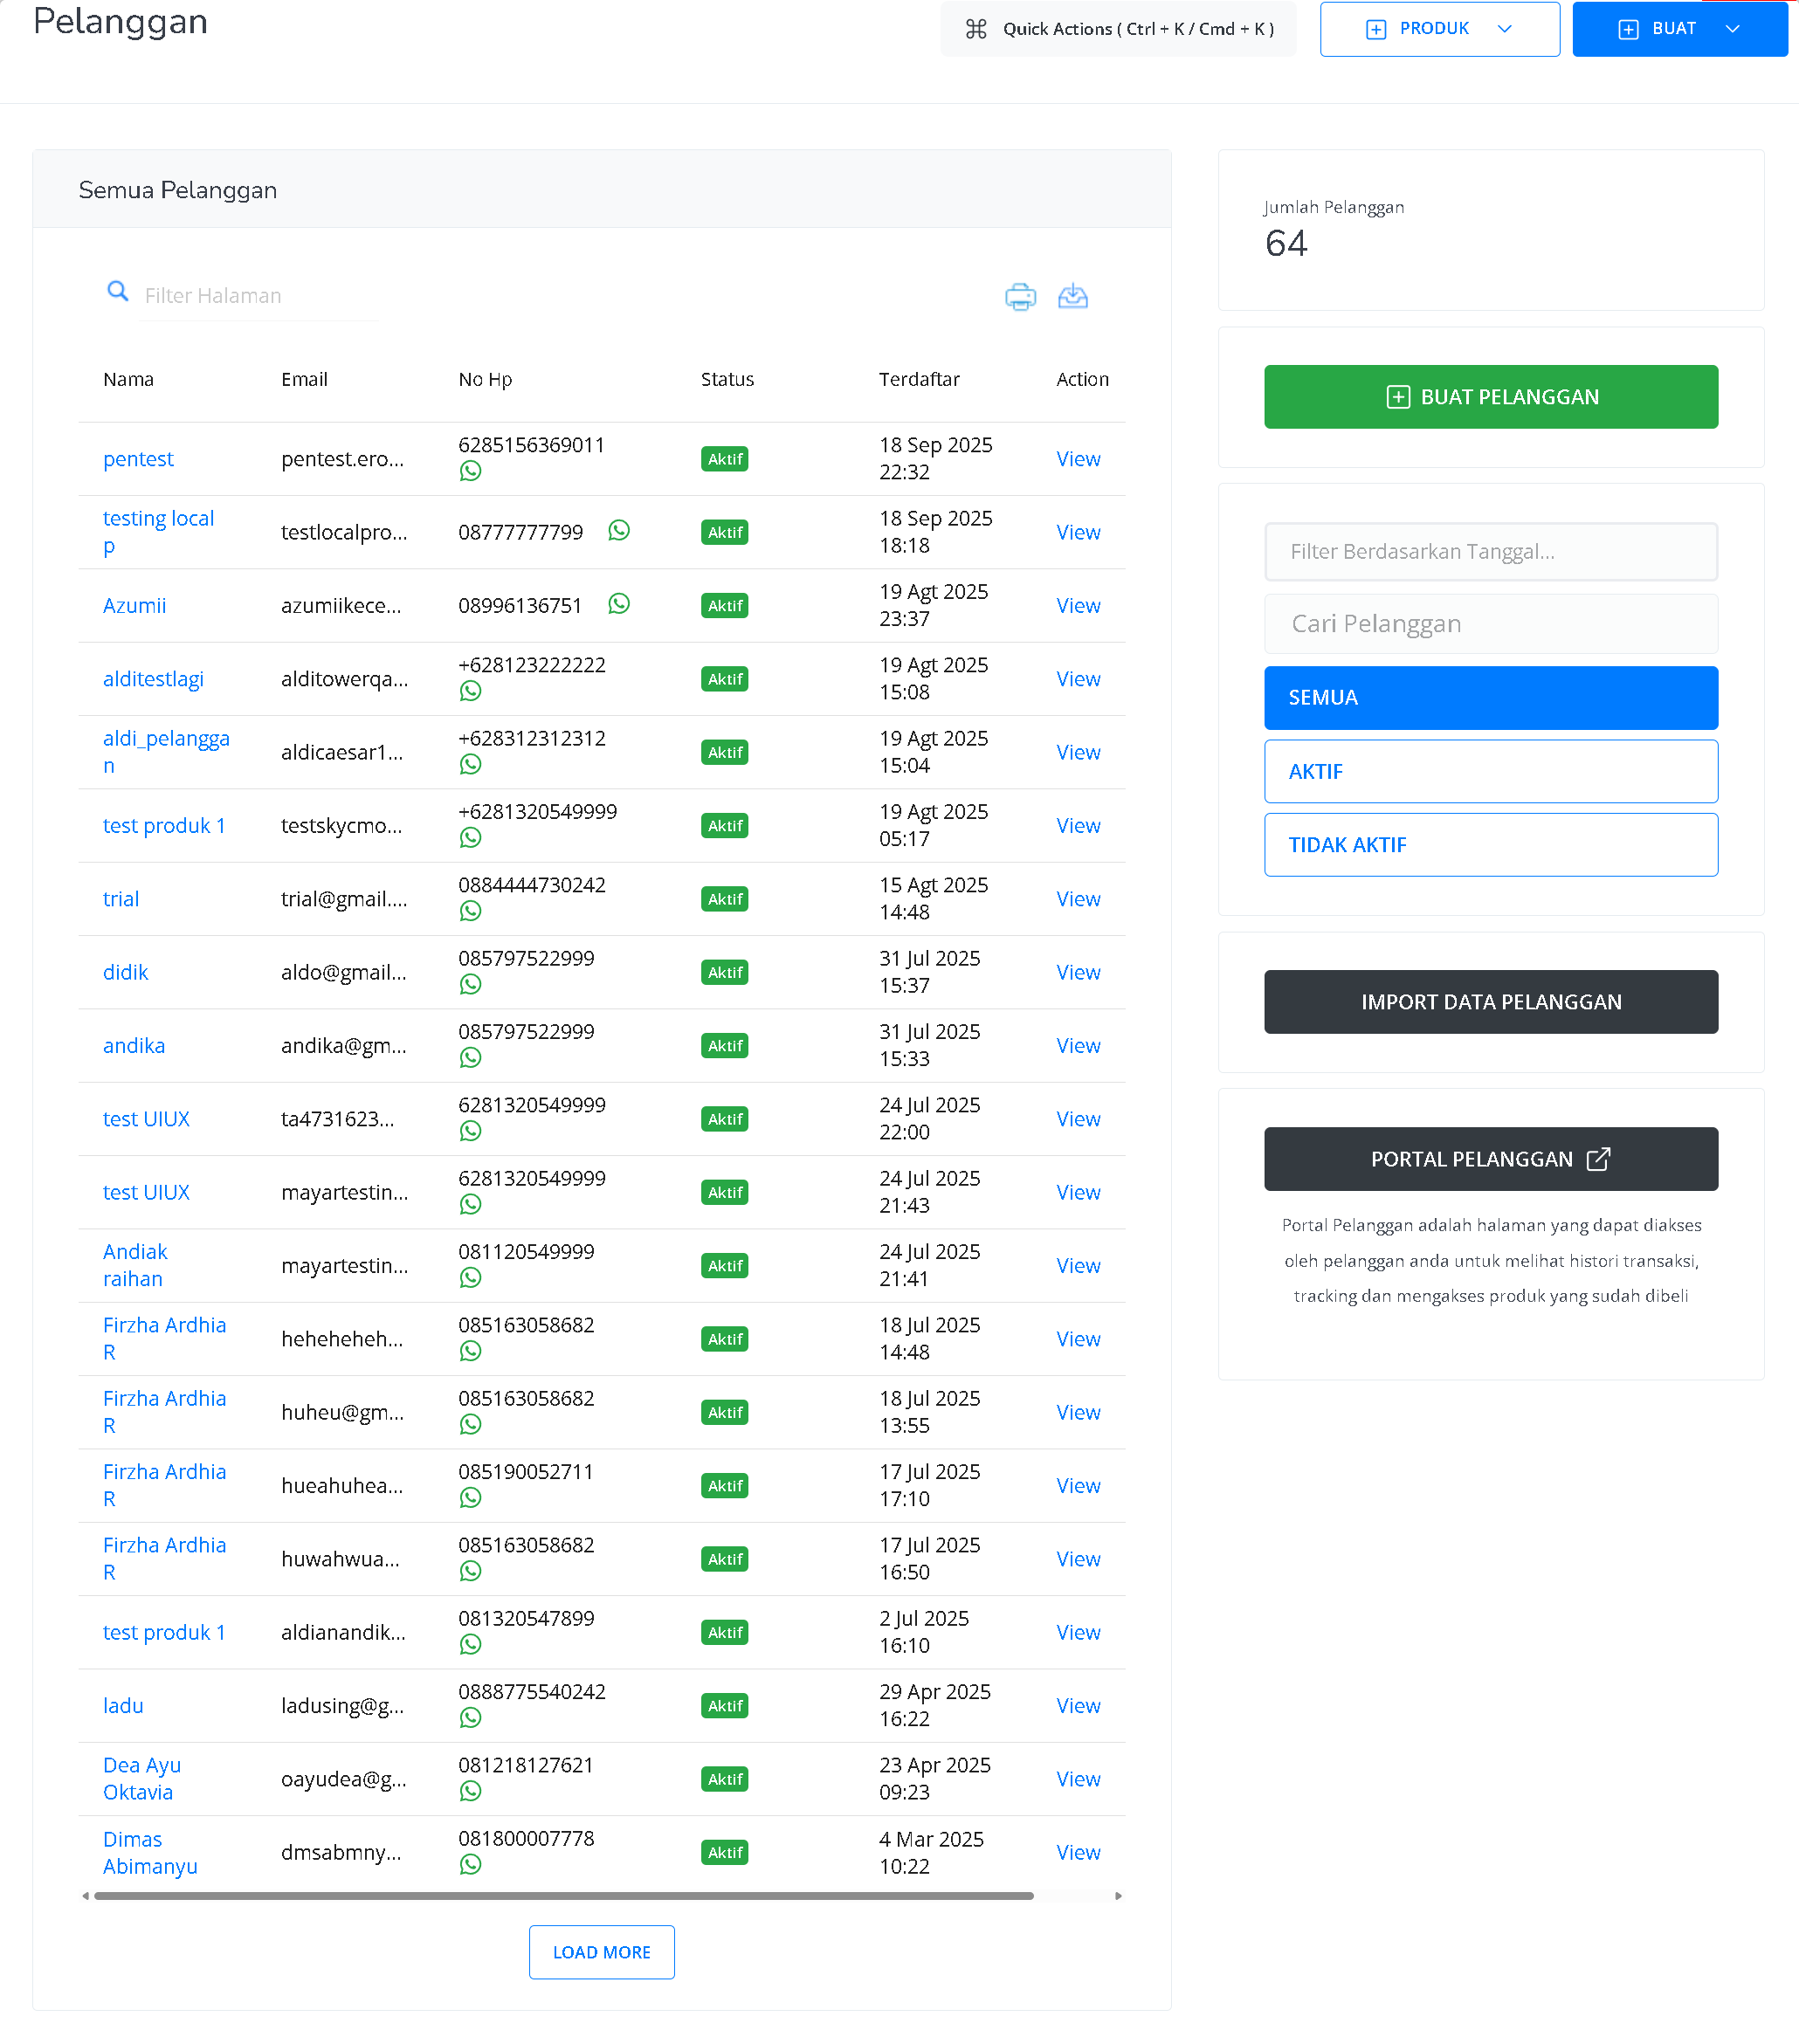
Fill in Customer Details
In the “Create Customer” window, enter the details such as Name, Email, and Phone Number.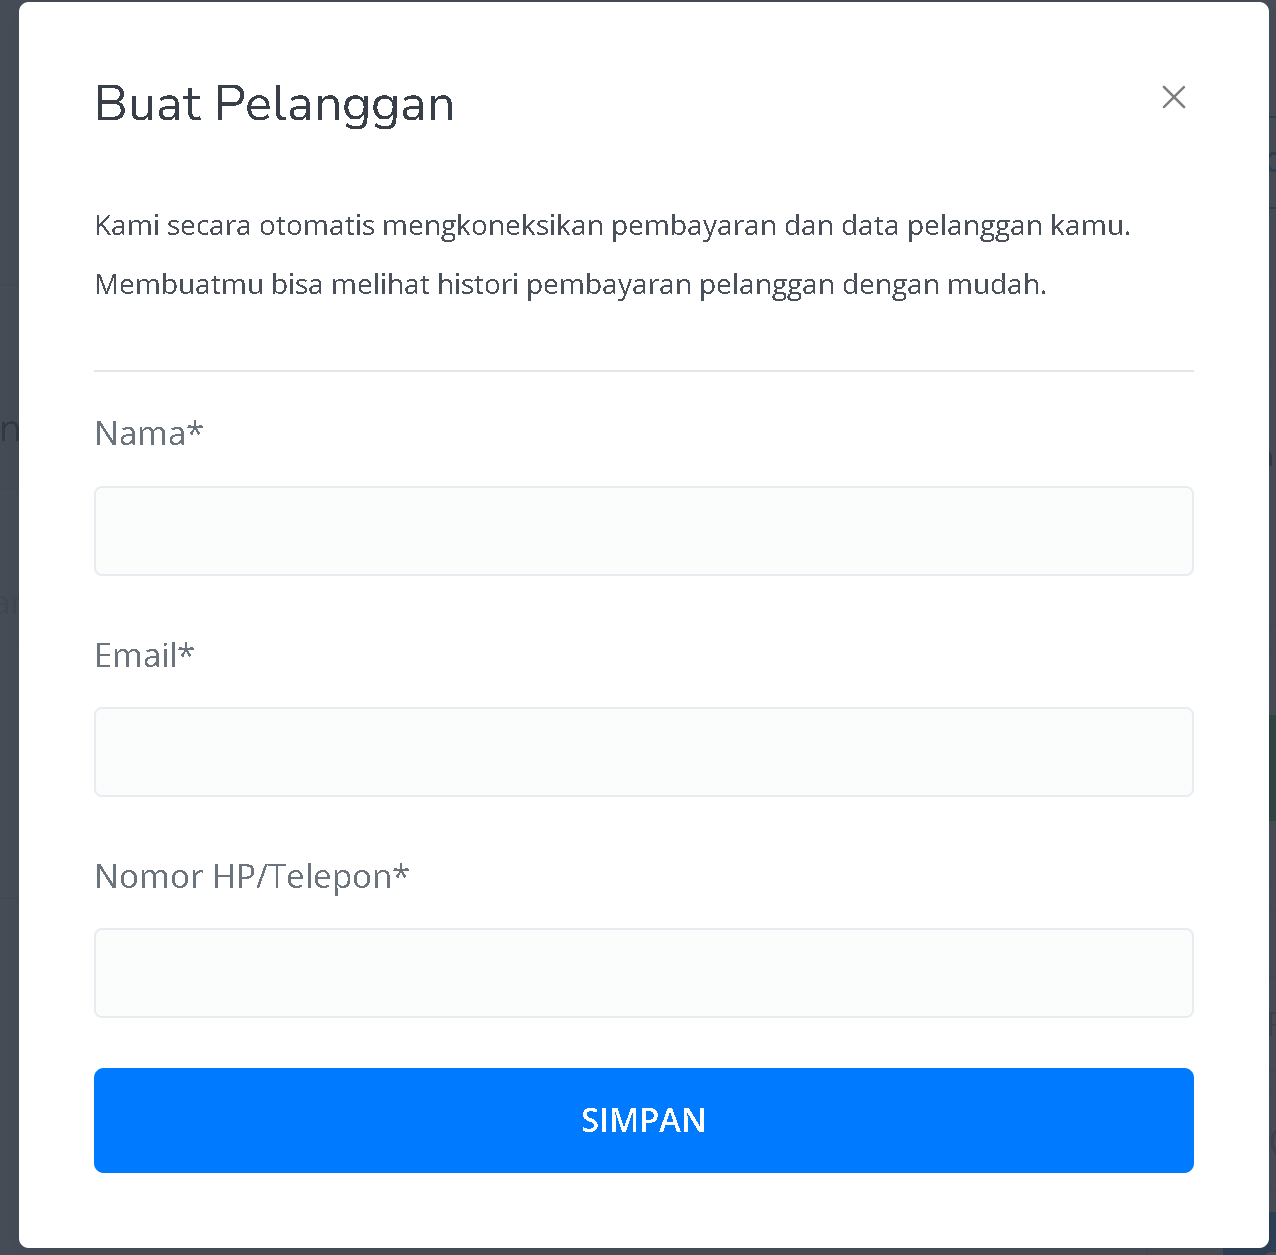
Access Customer Details Page
Once the information is filled in and the customer is created, you’ll be redirected to the Customer Page. The new customer will appear at the top of the list. You can view their details by clicking “View” in the action column.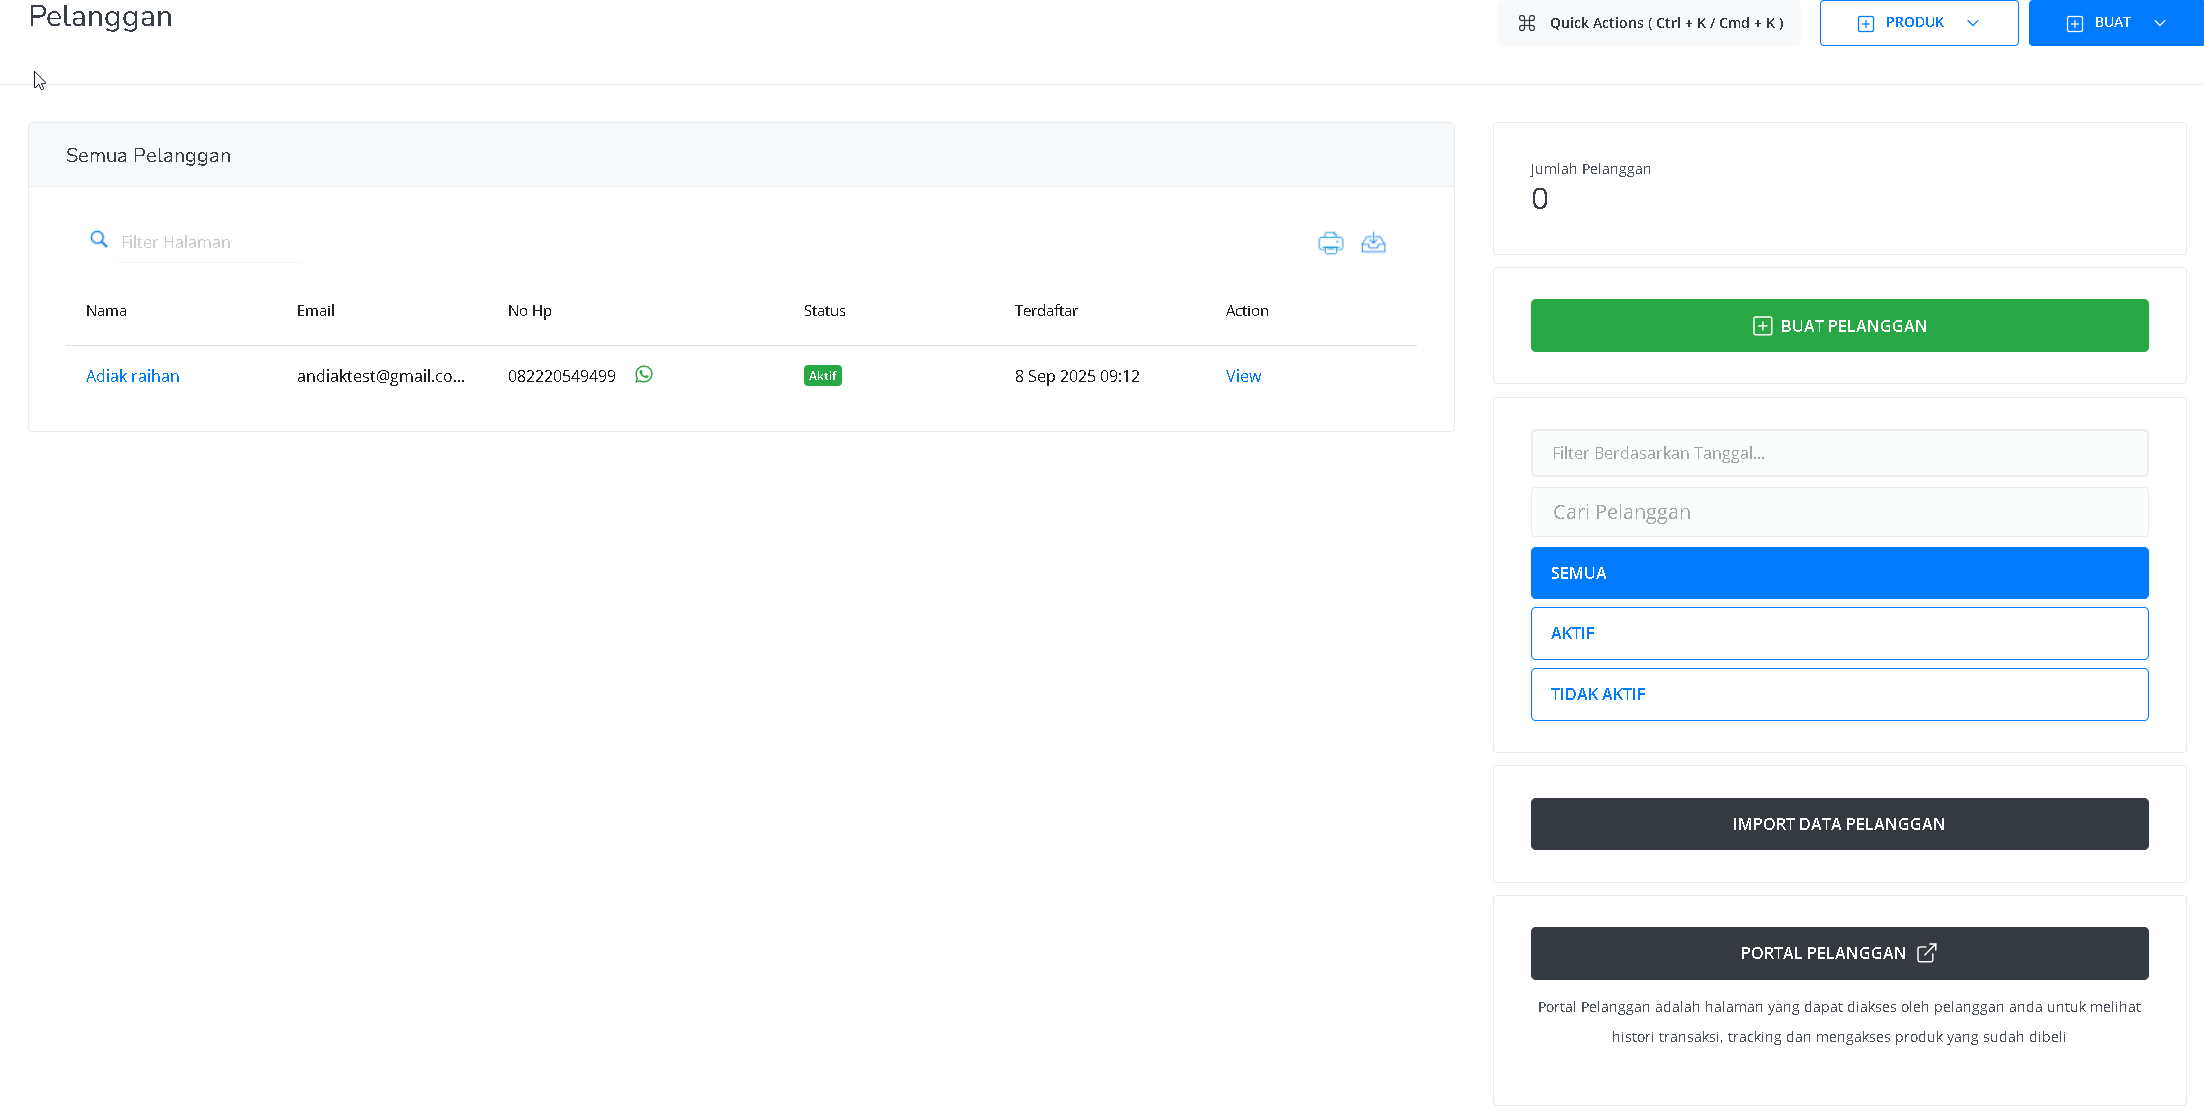
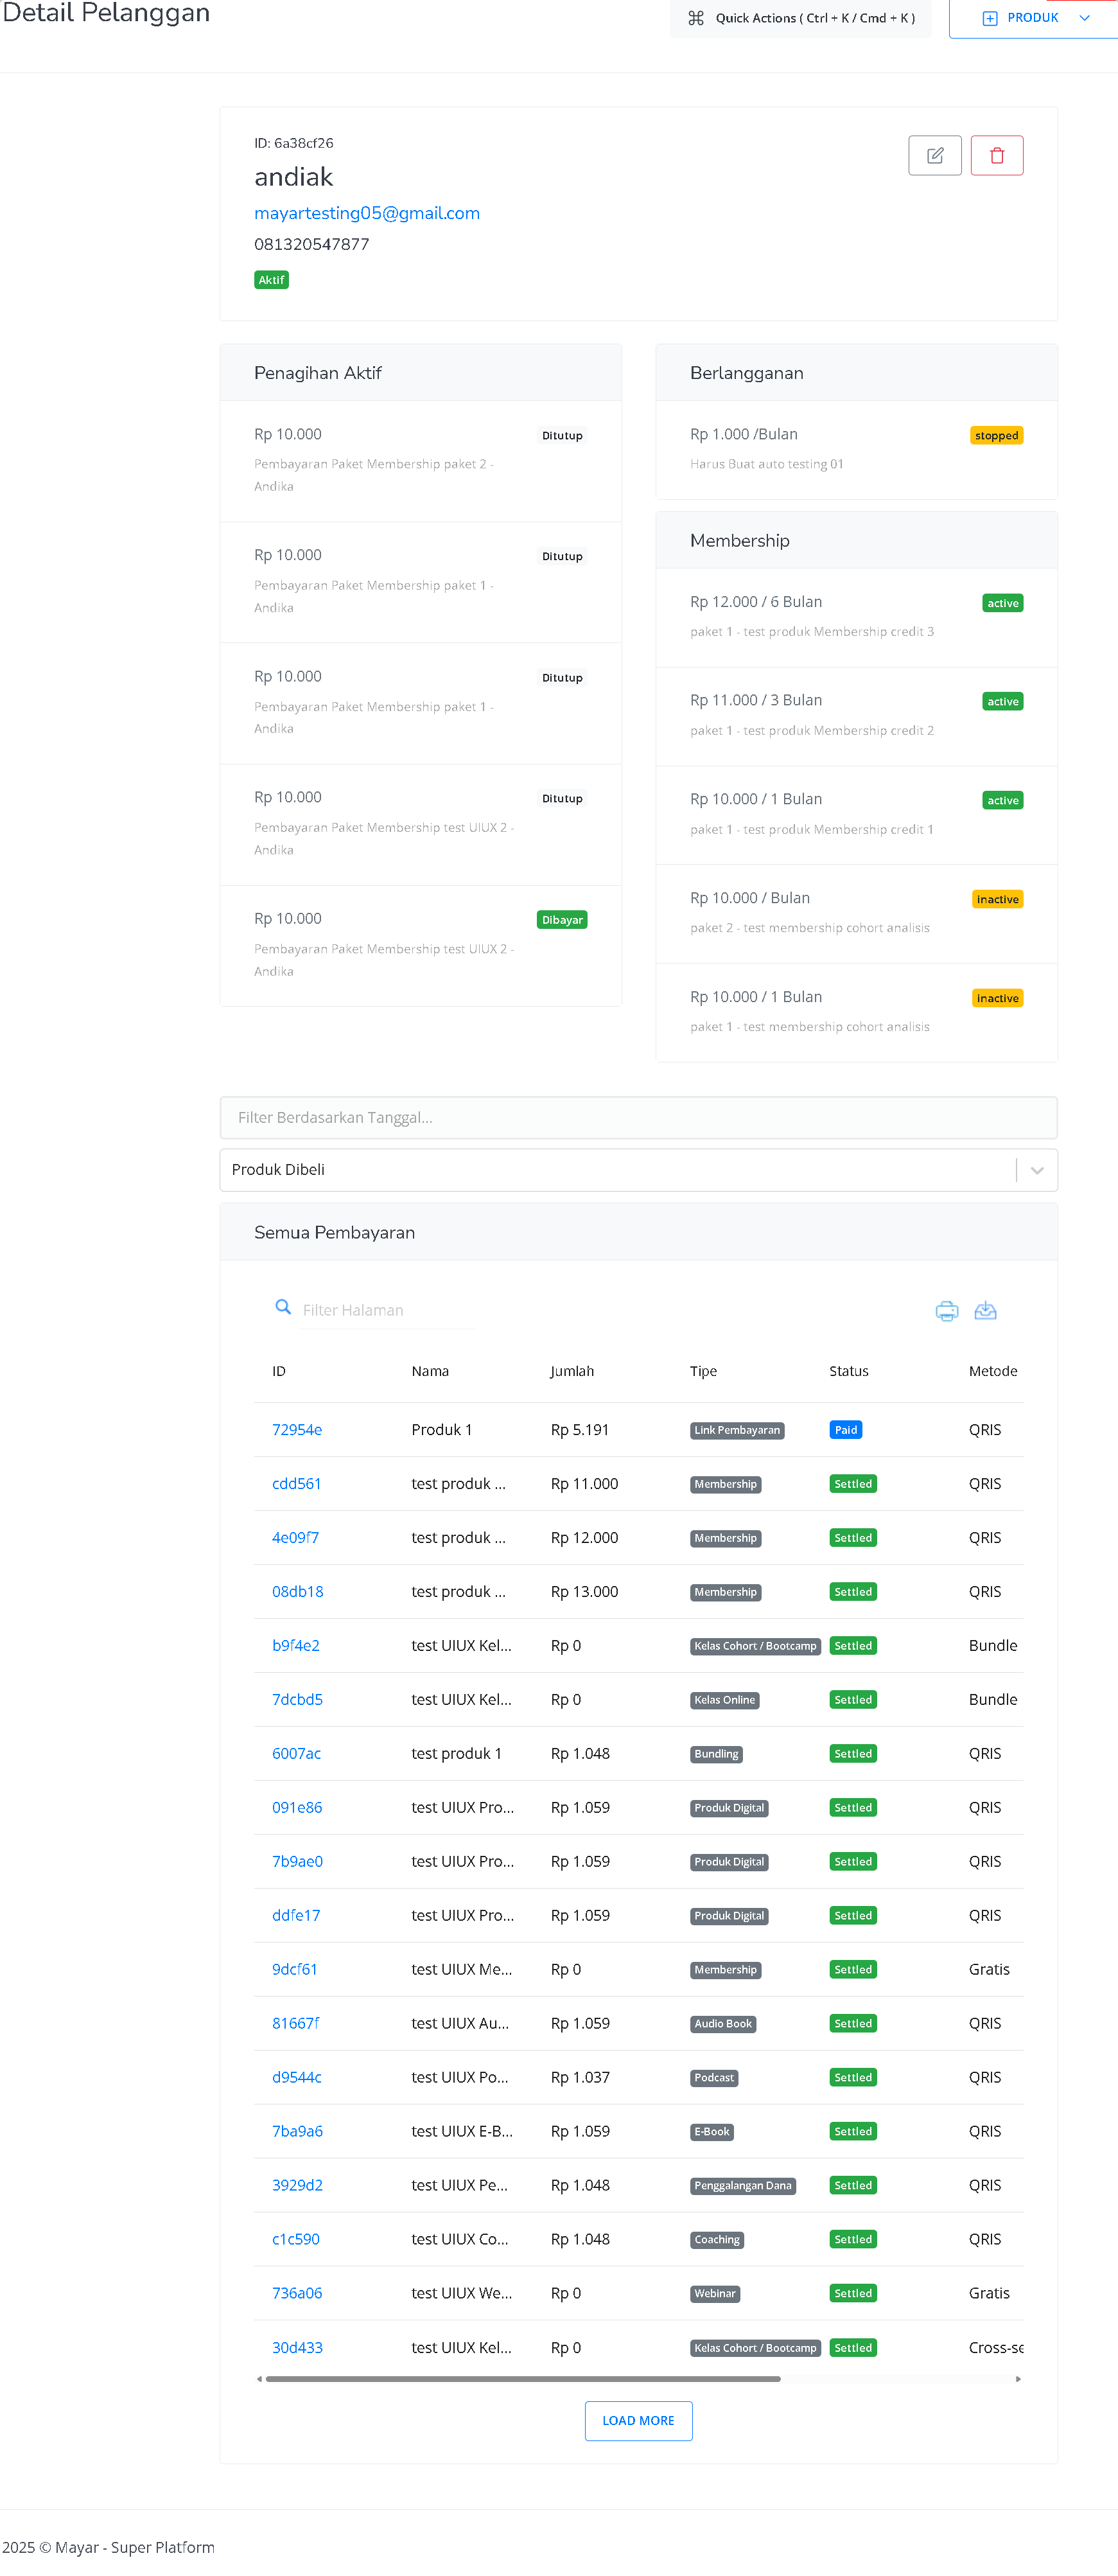
Customer Details
The section displays information about the selected customer, including their name, email, phone number, and account status, making it easy to identify and contact them while also checking whether the account is active. The active billing area shows ongoing bills such as the amount due, package description, and payment status (e.g., paid or closed), helping to monitor financial obligations. The subscriptions section lists active subscriptions (if any), while the membership section provides details about available plans, including price, duration, and status, to help customers choose the right package. Finally, the payment history is shown in a table containing all transactions with details such as transaction ID, package name, payment amount, transaction type, status, payment method, coupon code (if any), and transaction date. Altogether, this section ensures customer information is well organized and transactions are easy to track.