Overview
Mayar Payment Links is a versatile and powerful payment solution designed to simplify the process of accepting payments across various sales channels. Whether you are a small business owner, a freelancer, or a large enterprise, Mayar Payment Links provides the flexibility and convenience you need to manage transactions efficiently and securely. This solution allows you to reach customers wherever they are, offering a seamless payment experience that improves customer satisfaction and streamlines your financial operations. Payment links can be easily created through the Mayar Web App, which features an intuitive and user-friendly interface. The app simplifies the setup process, enabling you to generate customized payment links that can be shared across multiple platforms, including social media, email, and websites. This gives your customers multiple options to complete their transactions, ultimately boosting your sales opportunities. This guide will help you gain a detailed understanding of how to effectively use the Payment Link feature, enhancing your payment management capabilities and providing a seamless experience for your customers.Navigate to Payment Links
Log in to your Mayar Dashboard
Make sure you are logged into your account and on the main Dashboard page. This is where you will begin creating a Payment Link.
Create Payment Link
Access the Product Menu
Click the “Product” button at the top right, next to the “Create” button. This will take you to the product menu.
Choose Product Type
Select the “Payment Link” option to start creating your product. The “Create Payment Link” window will open.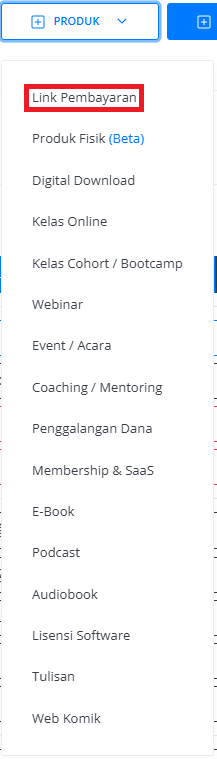
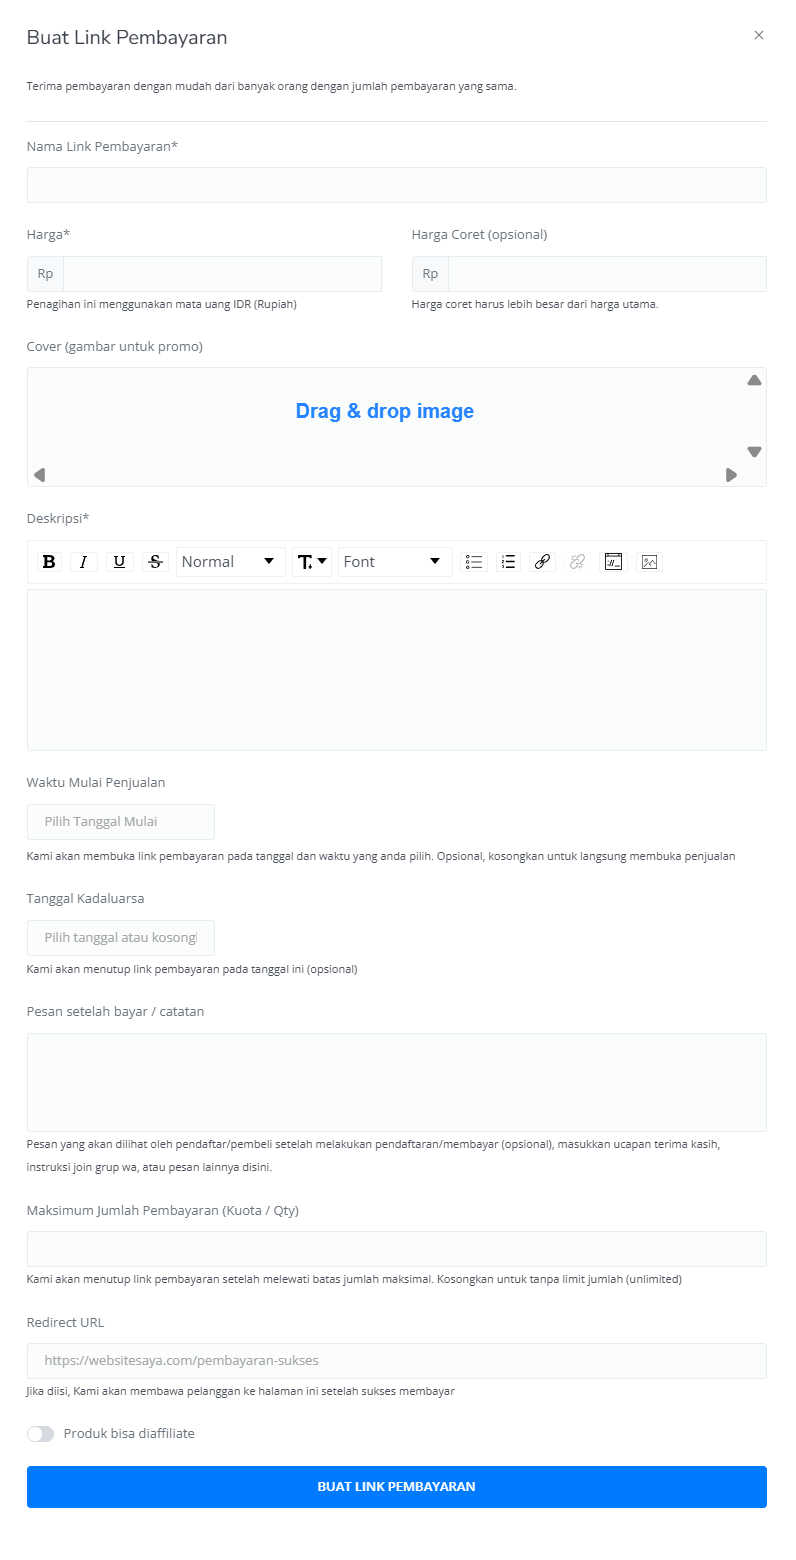
Fill in Product Details
Enter the following information:
| Input Form | Description |
|---|---|
| Payment Link Name | The name of the payment link. |
| Price | The price of the product. |
| Strikethrough Price | The original price before discount (optional). |
| Cover Image | An image used for product promotion. |
| Description | A description of the product. |
| Sales Start Time | The date and time when the payment link becomes active. |
| Expiry Date | The date and time when the payment link closes (optional). |
| Notes After Payment | Additional notes to show after checkout (optional). |
| Maximum Payment Amount (Quota/Qty) | The maximum quantity of the product that can be sold (optional). Leave empty for unlimited. |
| Redirect URL | A custom URL where the customer will be redirected after checkout (optional). If left empty, the customer will stay on the Mayar checkout page. |
| Product Affiliation | Allow the product to be affiliated with others (optional). |
| Create Payment Link Button | Click to create the payment link. |
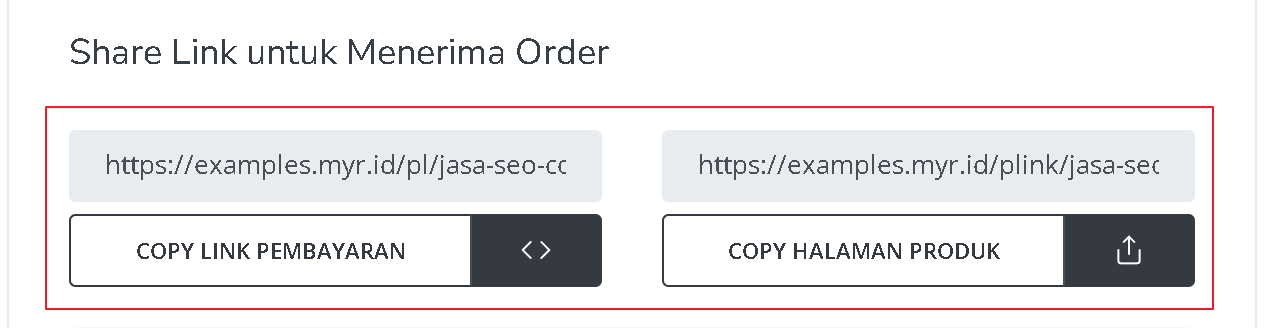
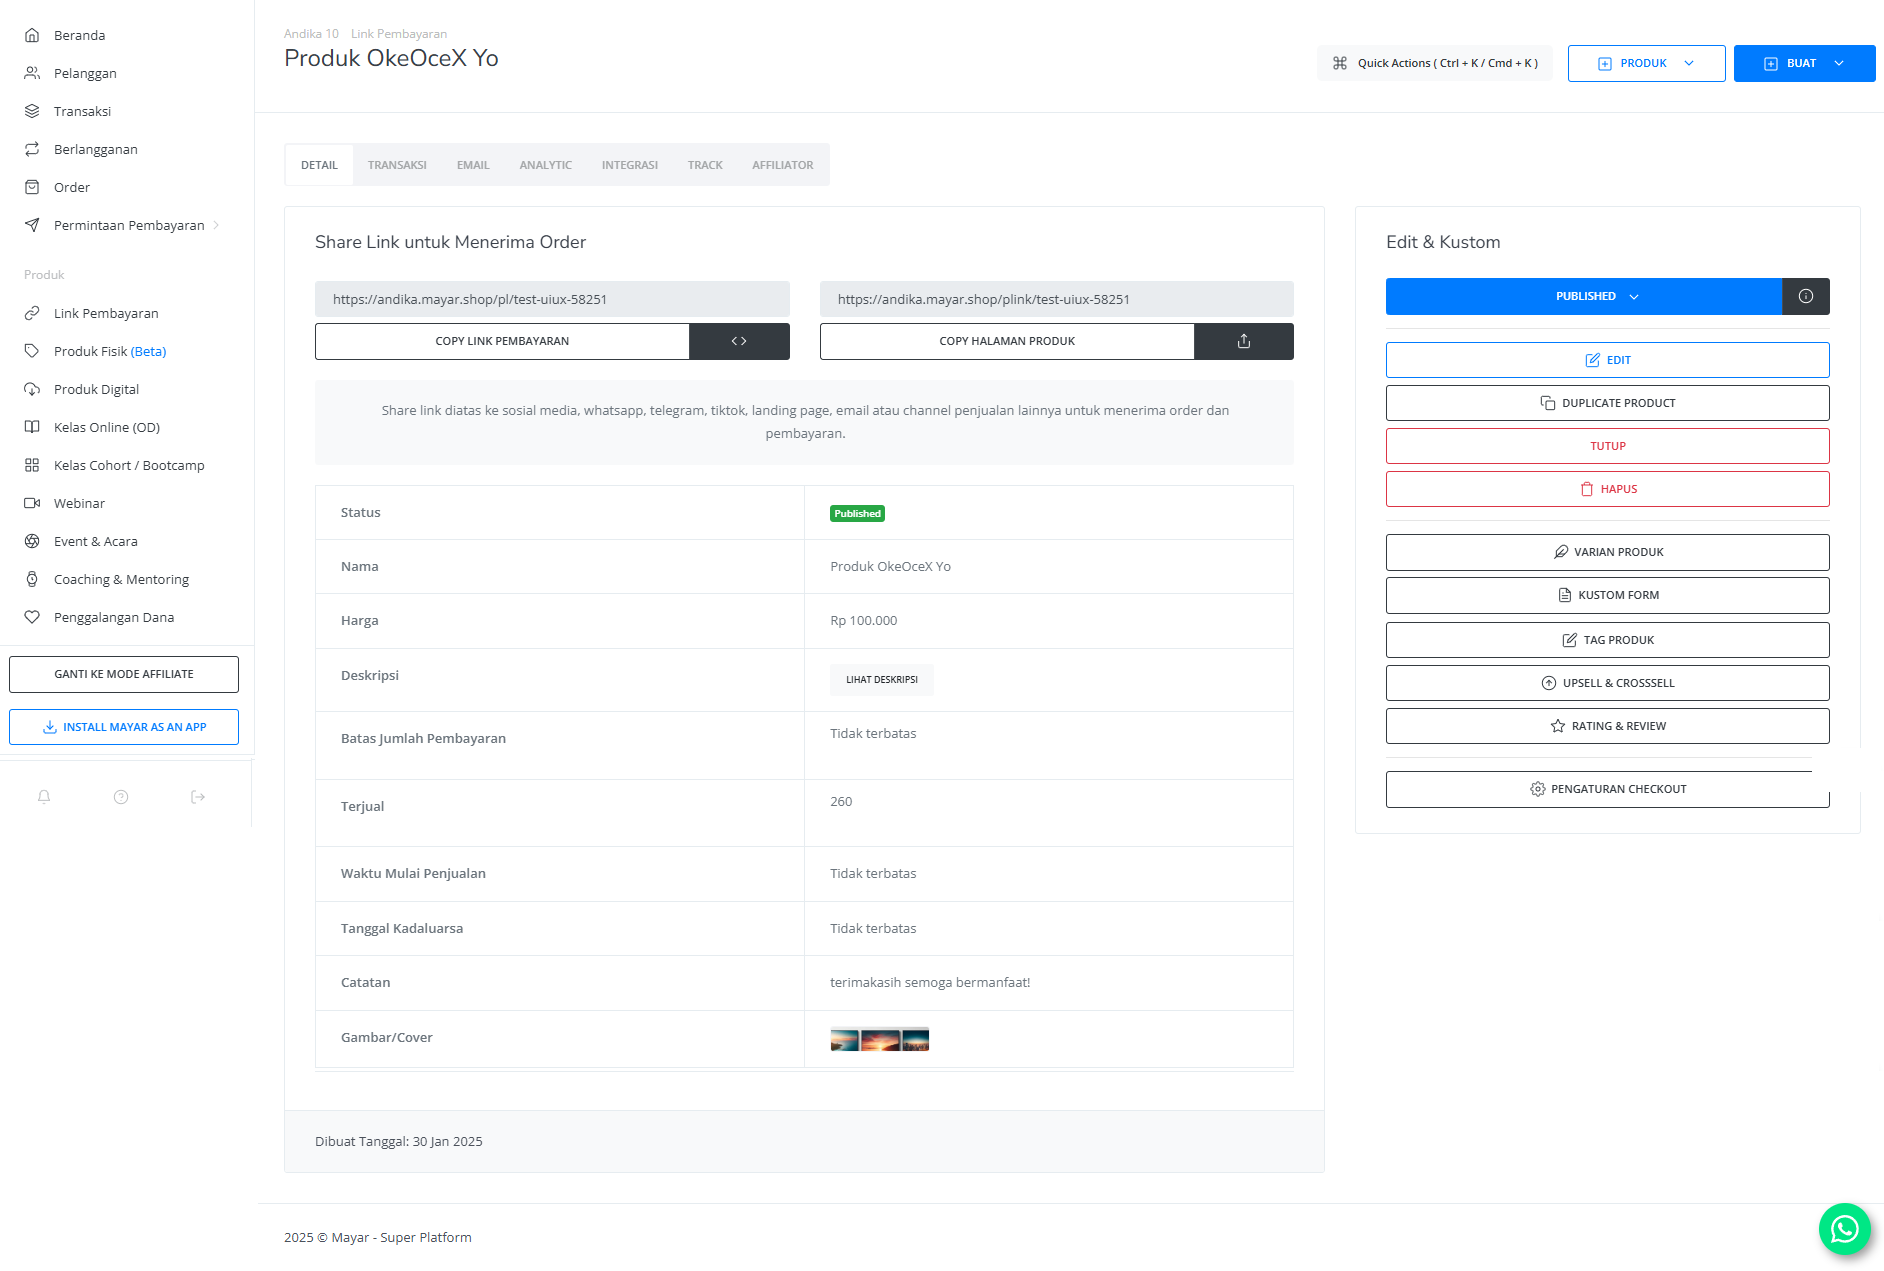
Review and Finish
After filling in all the details, review the product information to make sure everything is correct. On the product detail page, you will see:
| Information | Description |
|---|---|
| Status | Whether the payment link is active or inactive. |
| Name | The product name. |
| Description | The product description. |
| Sales Start Time | When the payment link becomes active. |
| Expiry Date | When will the payment link close |
| Notes | Any additional notes after checkout. |
| Cover Image | The promotional image for the product. |