Overview
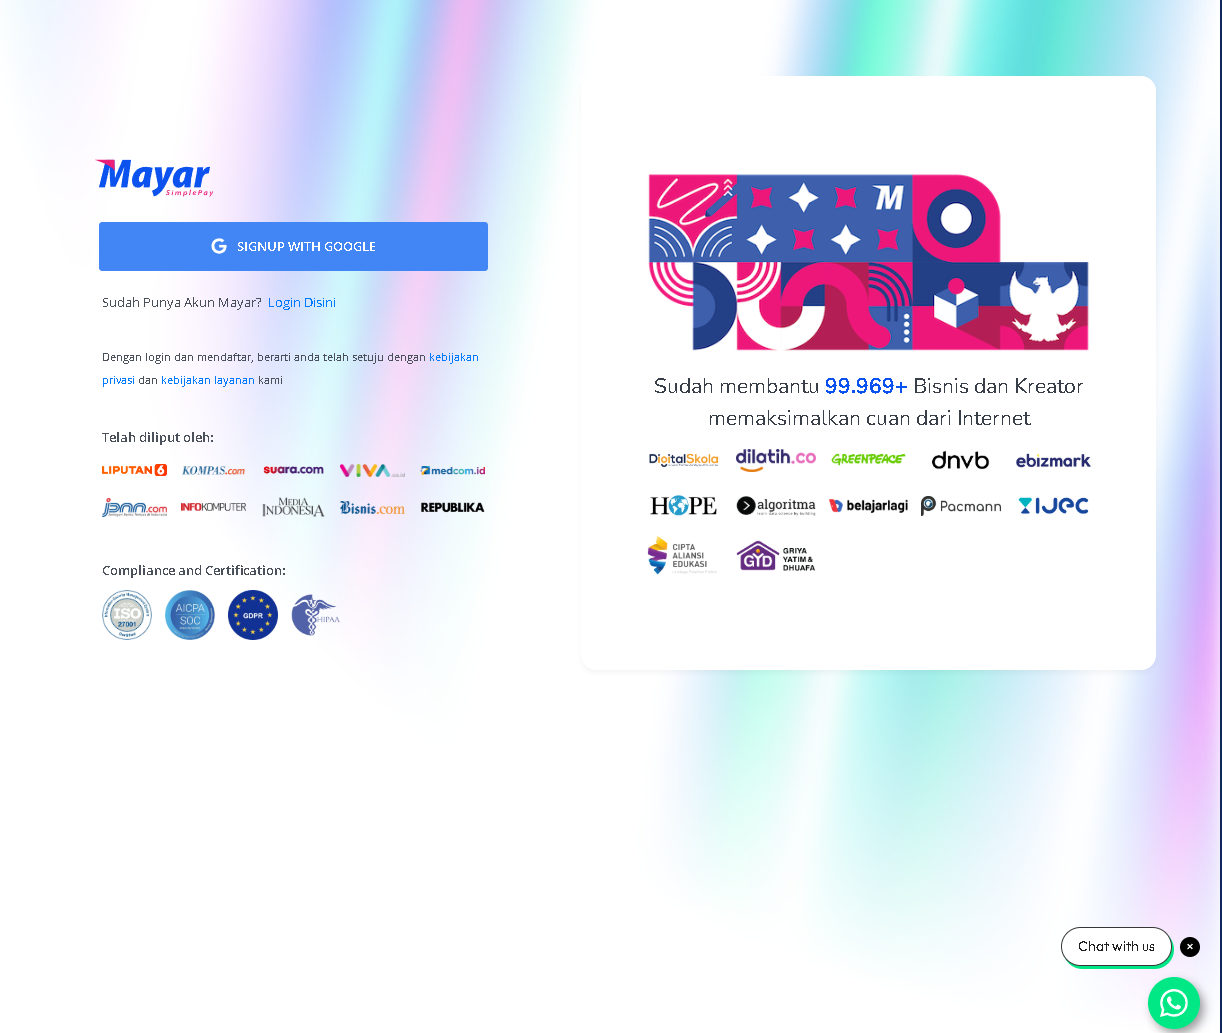
Welcome to the MAYAR Account Creation process! In this guide, we will walk you through the steps of creating a MAYAR account, so you can smoothly manage your business transactions and payments. Whether you are a new MAYAR user or looking to create a trial account, we are here to assist you.- Sign Up: To get started with MAYAR, please go to mayar.id and register to unlock a fast and simple payment solution.

Follow these steps to create your account:
Create an Account
First, create a new account on the MAYAR platform. You will need to sign up using your Google account. After registering, you will receive a “Welcome to MAYAR” email.
Complete Business Details
After logging in with your Google account, you will be asked to fill in your business information, including: Business name, Phone number, Monthly revenue, Products or services offered, Number of employees, Upload your business logo, and How you found out about MAYAR.
Set Up Bank Account
Now, add your bank account or e-wallet details (GoPay, OVO, Dana, ShopeePay, Mandiri E-Cash, LinkAja). This is where you will receive payments from your product sales.
Verify Your Account
Before you can start selling, you need to verify your account. This means uploading some documents to confirm your identity and business.
